How To Use ReGloss
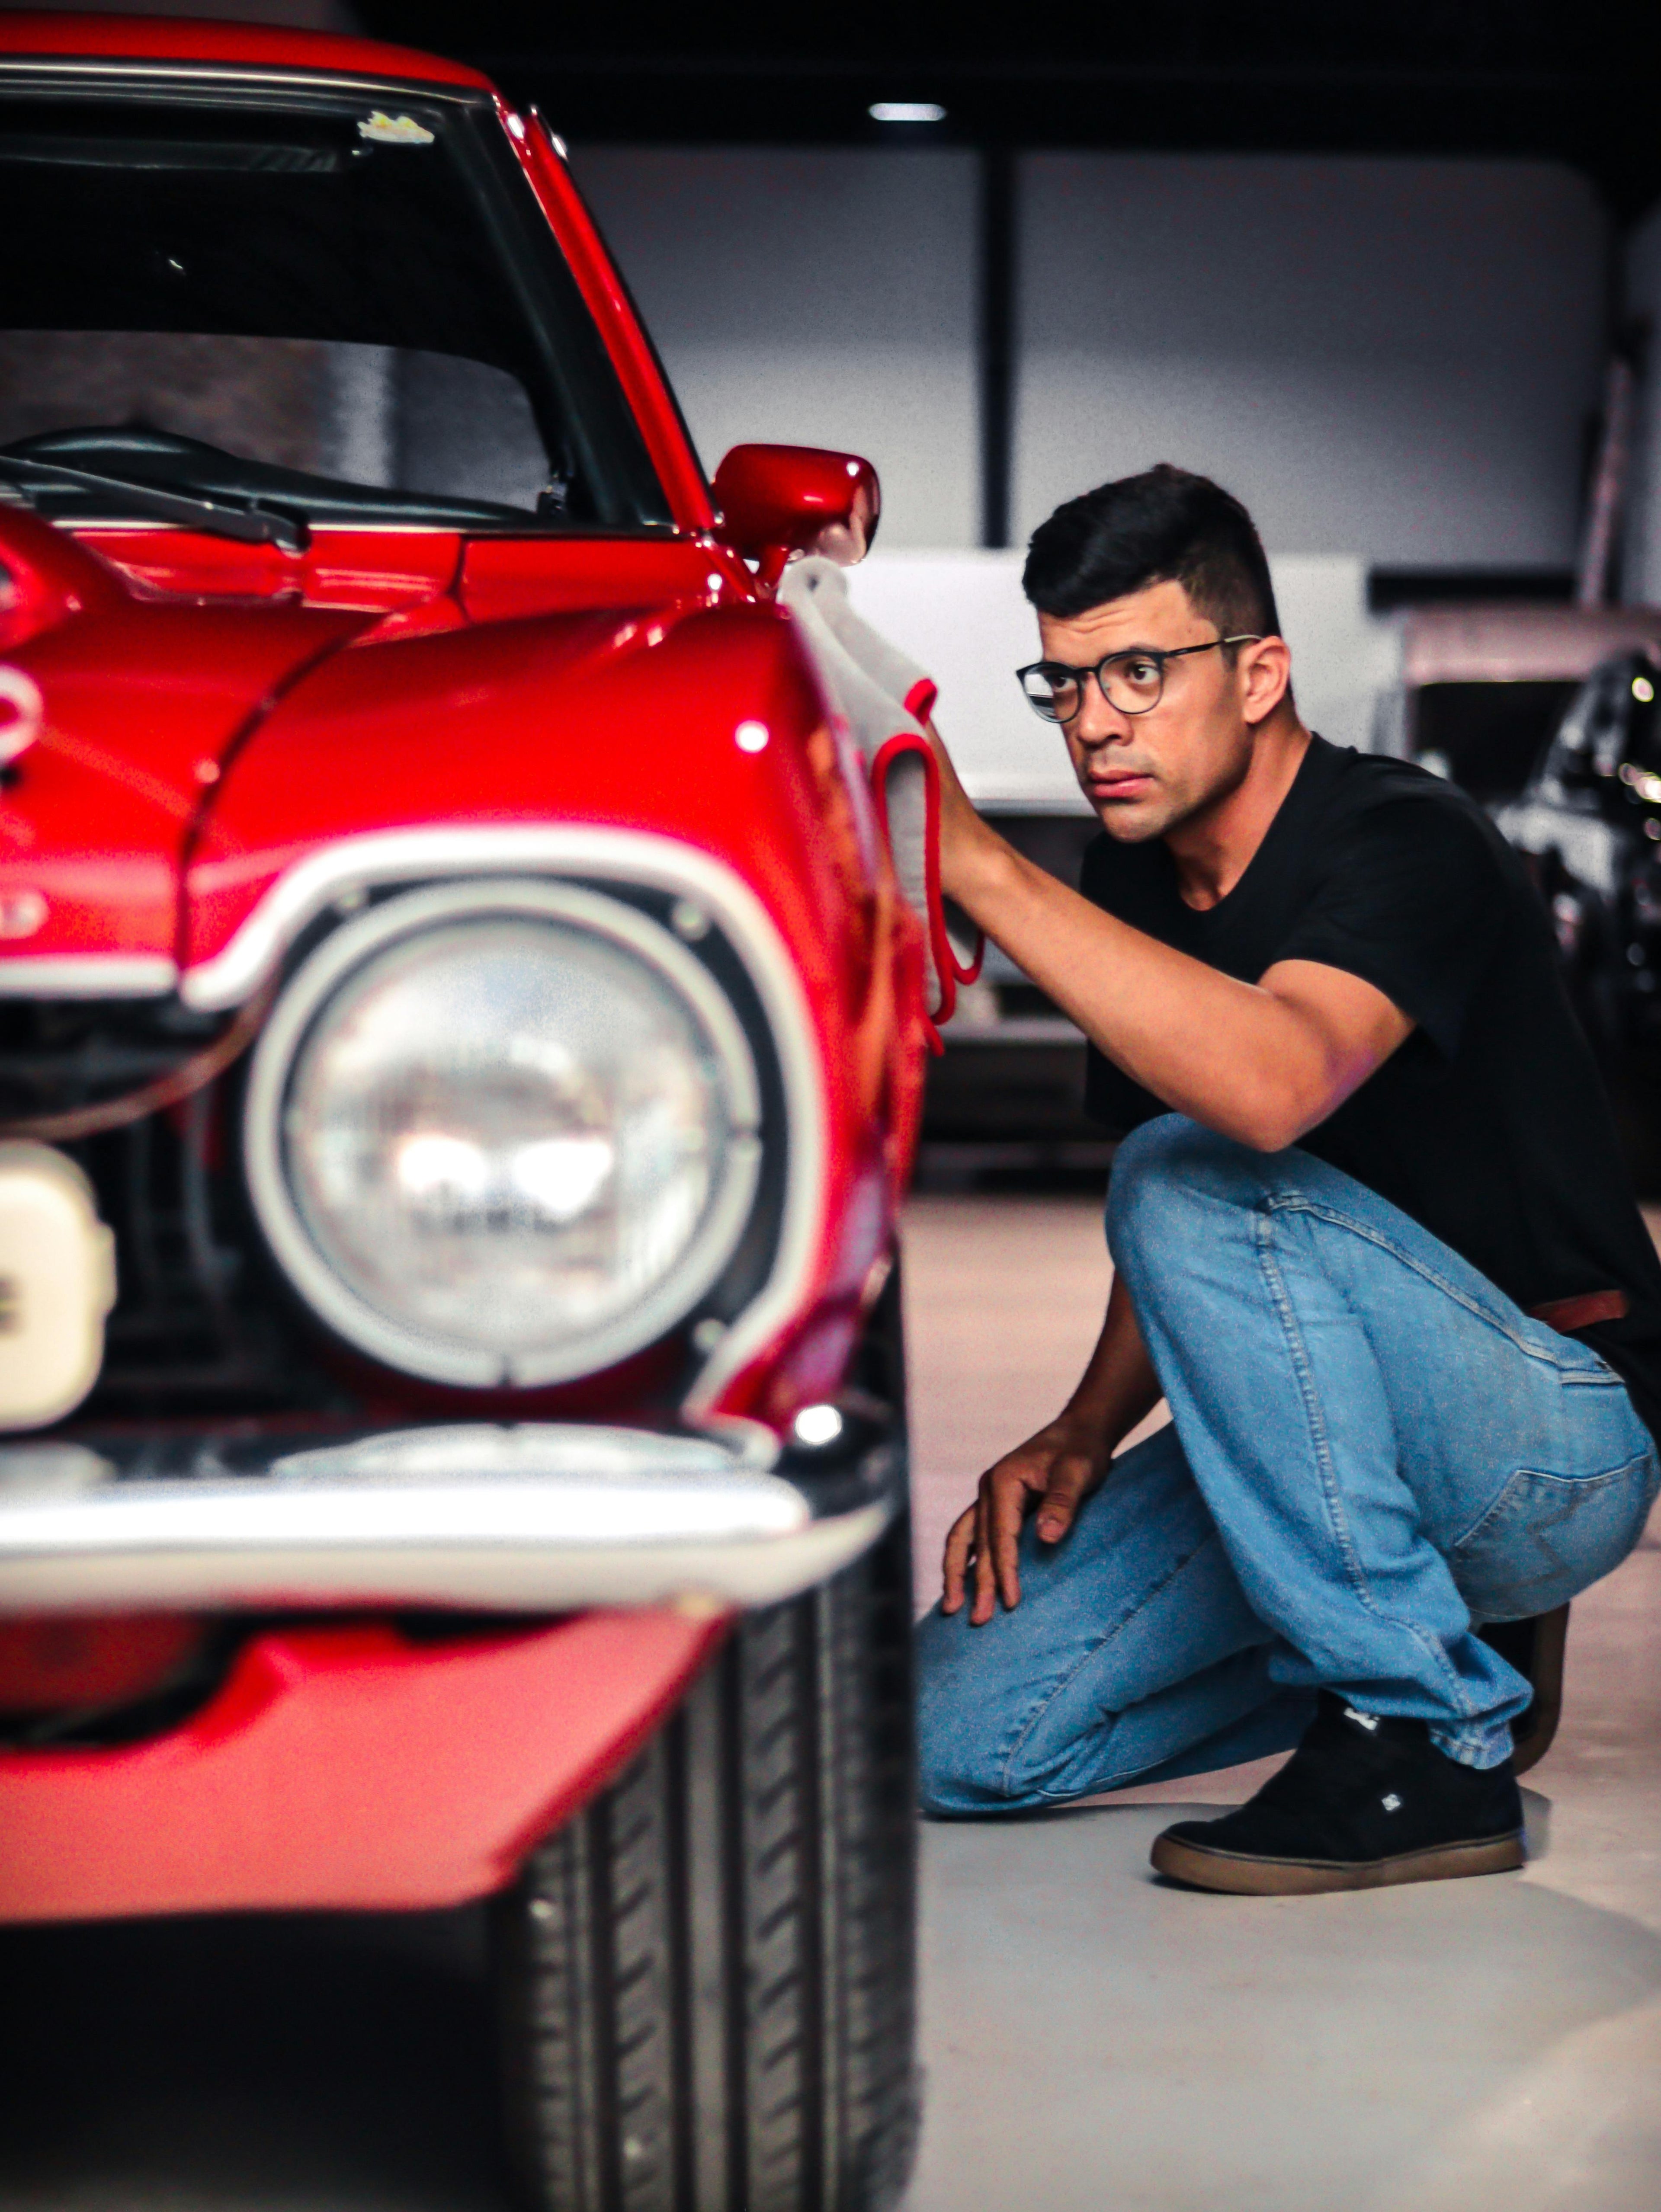

Learn The ReGloss Revolution
With the power of ReGloss and the support of SkyGloss, you can transform your vehicle right before your eyes, in a matter of hours.
Preparation
ReGloss is a professional-grade technology, and achieving professional results starts with properly preparing your vehicle. While we provide basic written instructions, truly mastering the process requires seeing it in action.
On our YouTube channel, you'll find a wealth of detailed, step-by-step videos that cover every aspect of using ReGloss. These videos are designed to:
- Dive Deep into Each Step: Learn the process in-depth, with clear demonstrations to ensure success.
- Show Real-World Examples: We feature a variety of vehicles, so you can find one similar to yours and follow along with the method best suited for your needs.
Don’t leave your results to chance—visit our YouTube channel to get the expert guidance you need. Watching these videos will not only save you time but also help you achieve flawless, professional-grade results with ReGloss.
Step 1
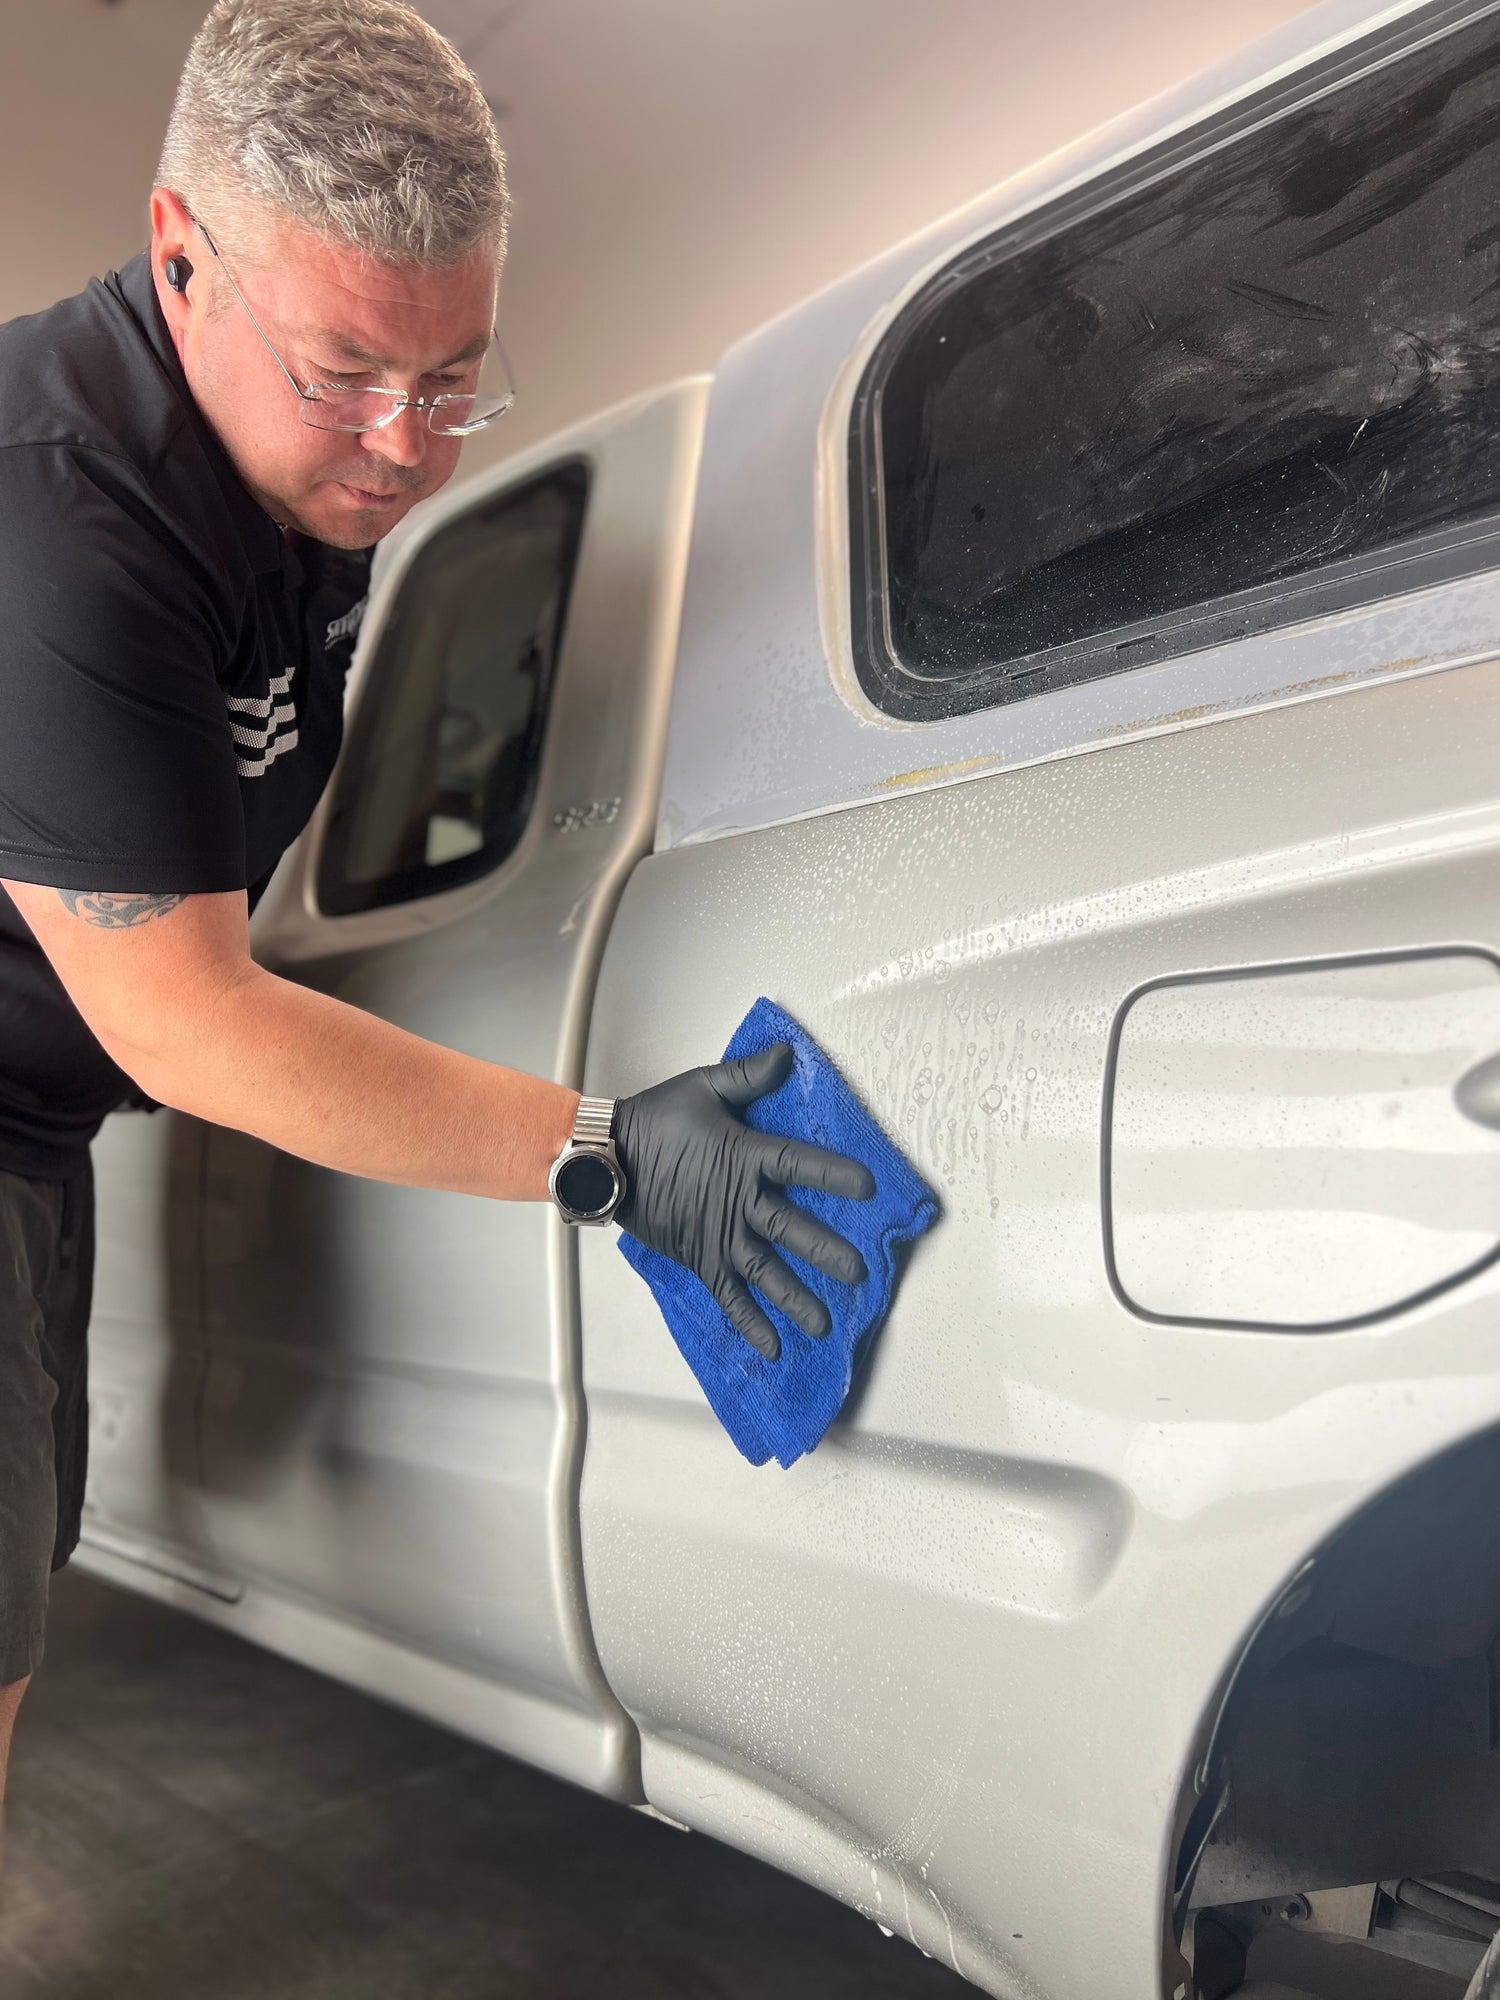
Wash
Using ReGloss Degreaser and any old towel, thoroughly wash entire exterior. Alternatively can you take the vehicle through a do-it-yourself car wash. Do not worry about introducing more hairline scratches from washing it because they will all be taken care of during application.
Step 2
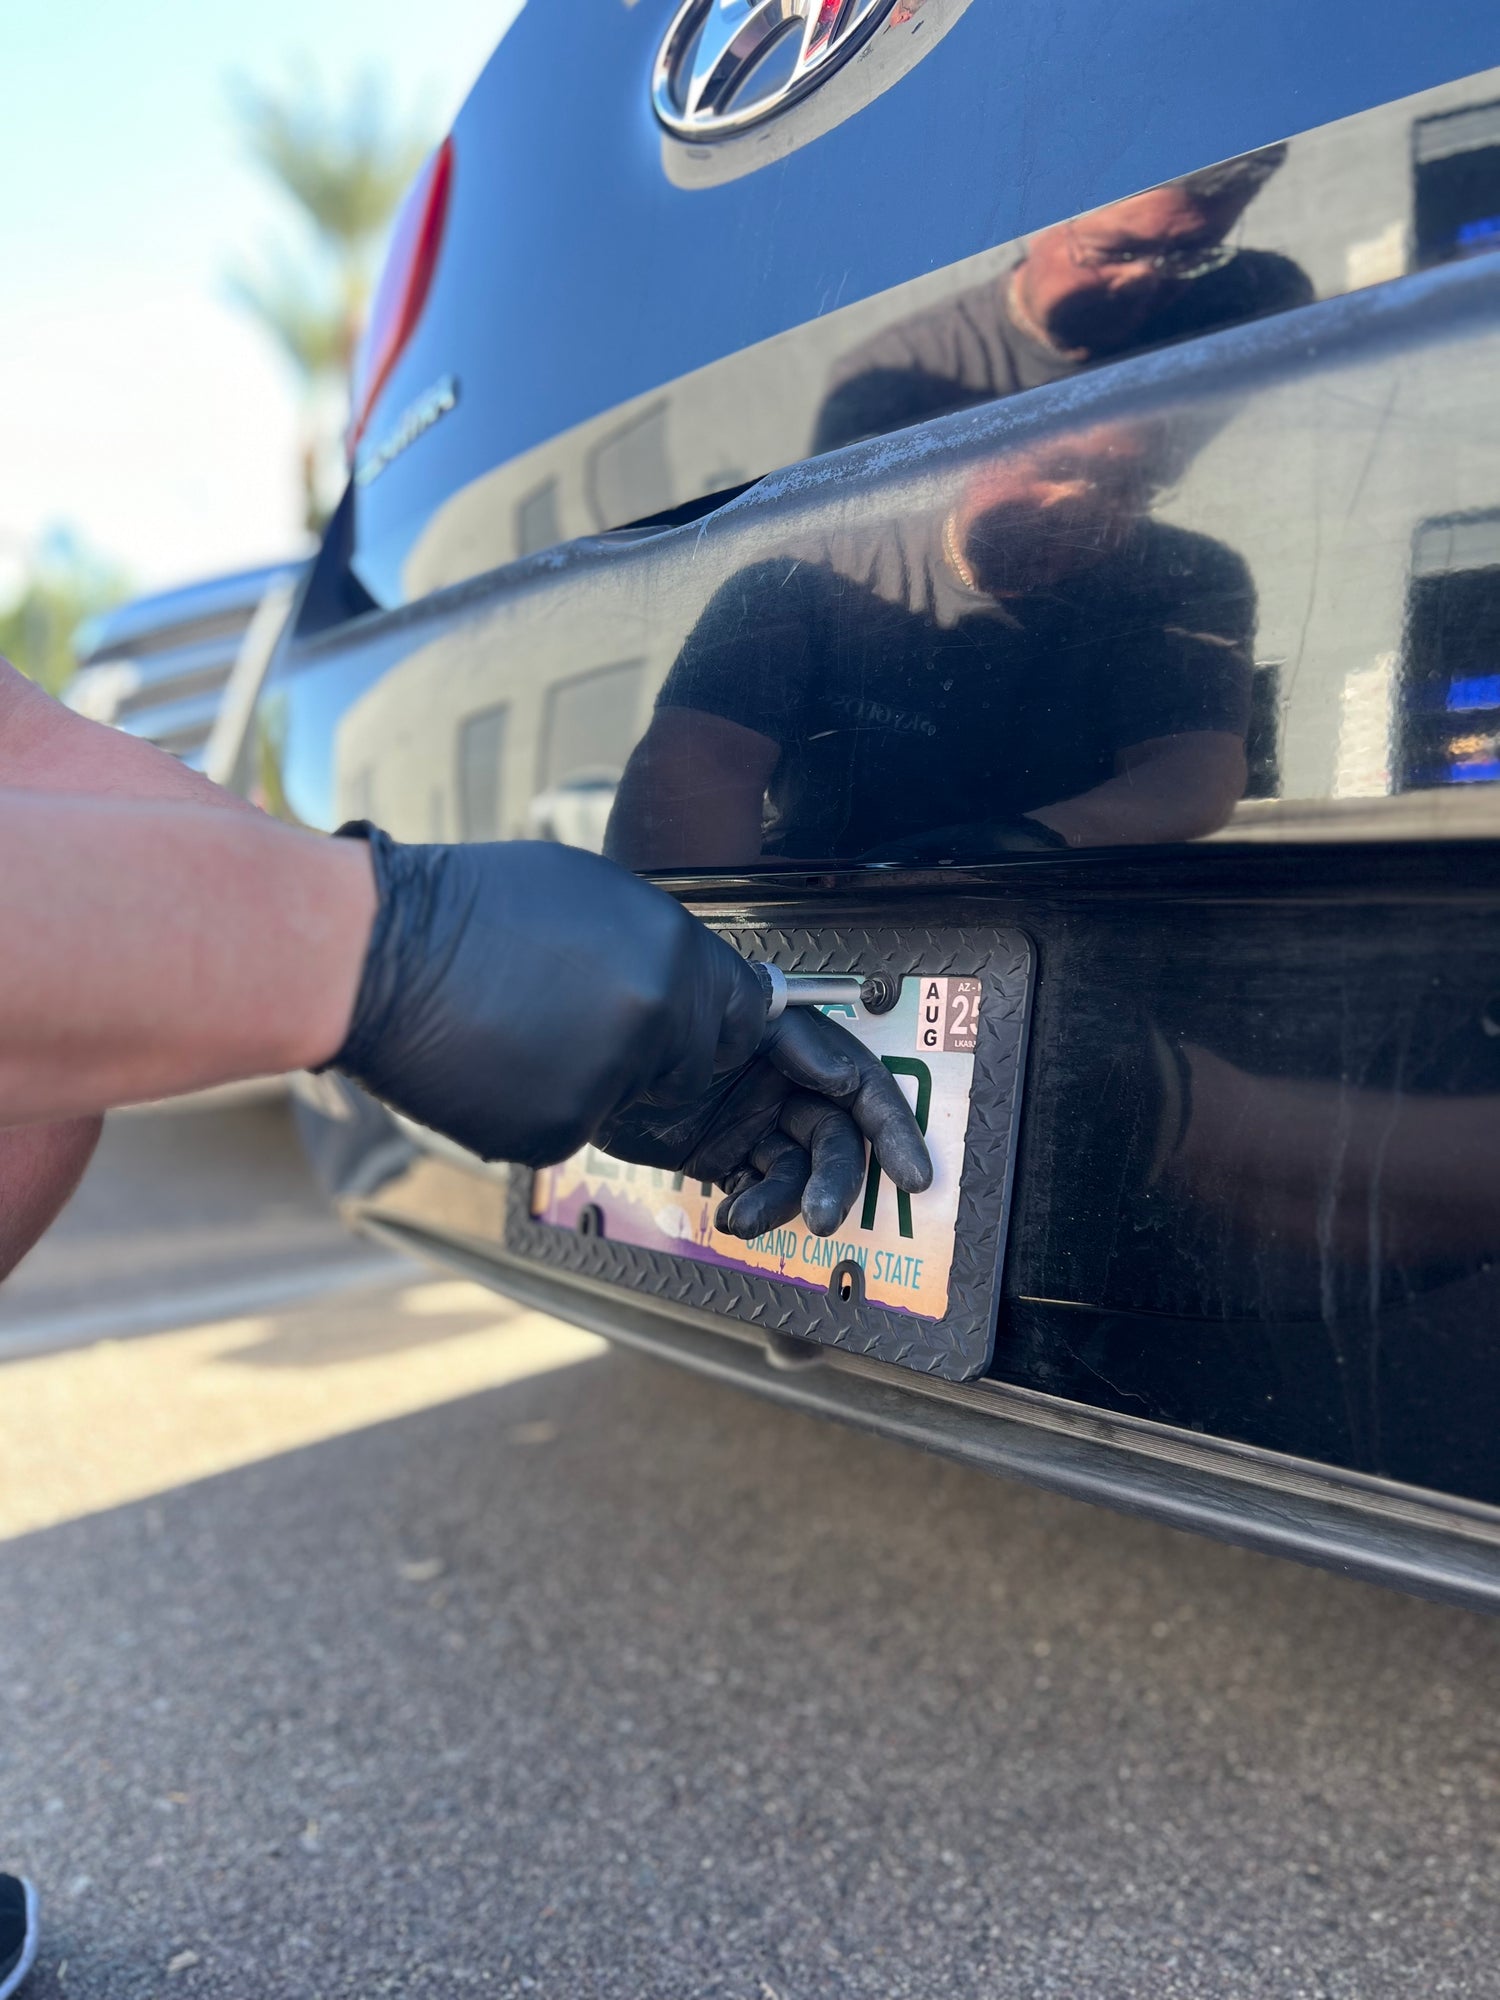
Remove Attachments
License plates are the most obvious attachment but stickers and anything attached to your paint finish where you want to ReGloss, you will want to remove.
Anything you will go around like moldings and trim pieces you will tape around those areas. This will be done in Step 3 below.
Vehicle emblems (such as Vehicle Make & Model badges) are kept on the vehicle in most cases but, ultimately, this is your final decision. Alternatively, in most cases, badges can be removed and reattached later using double-sided tape.
Make sure all residue left behind from removing attachments is removed off with a goof-off type of product before going to the next step.
Step 3
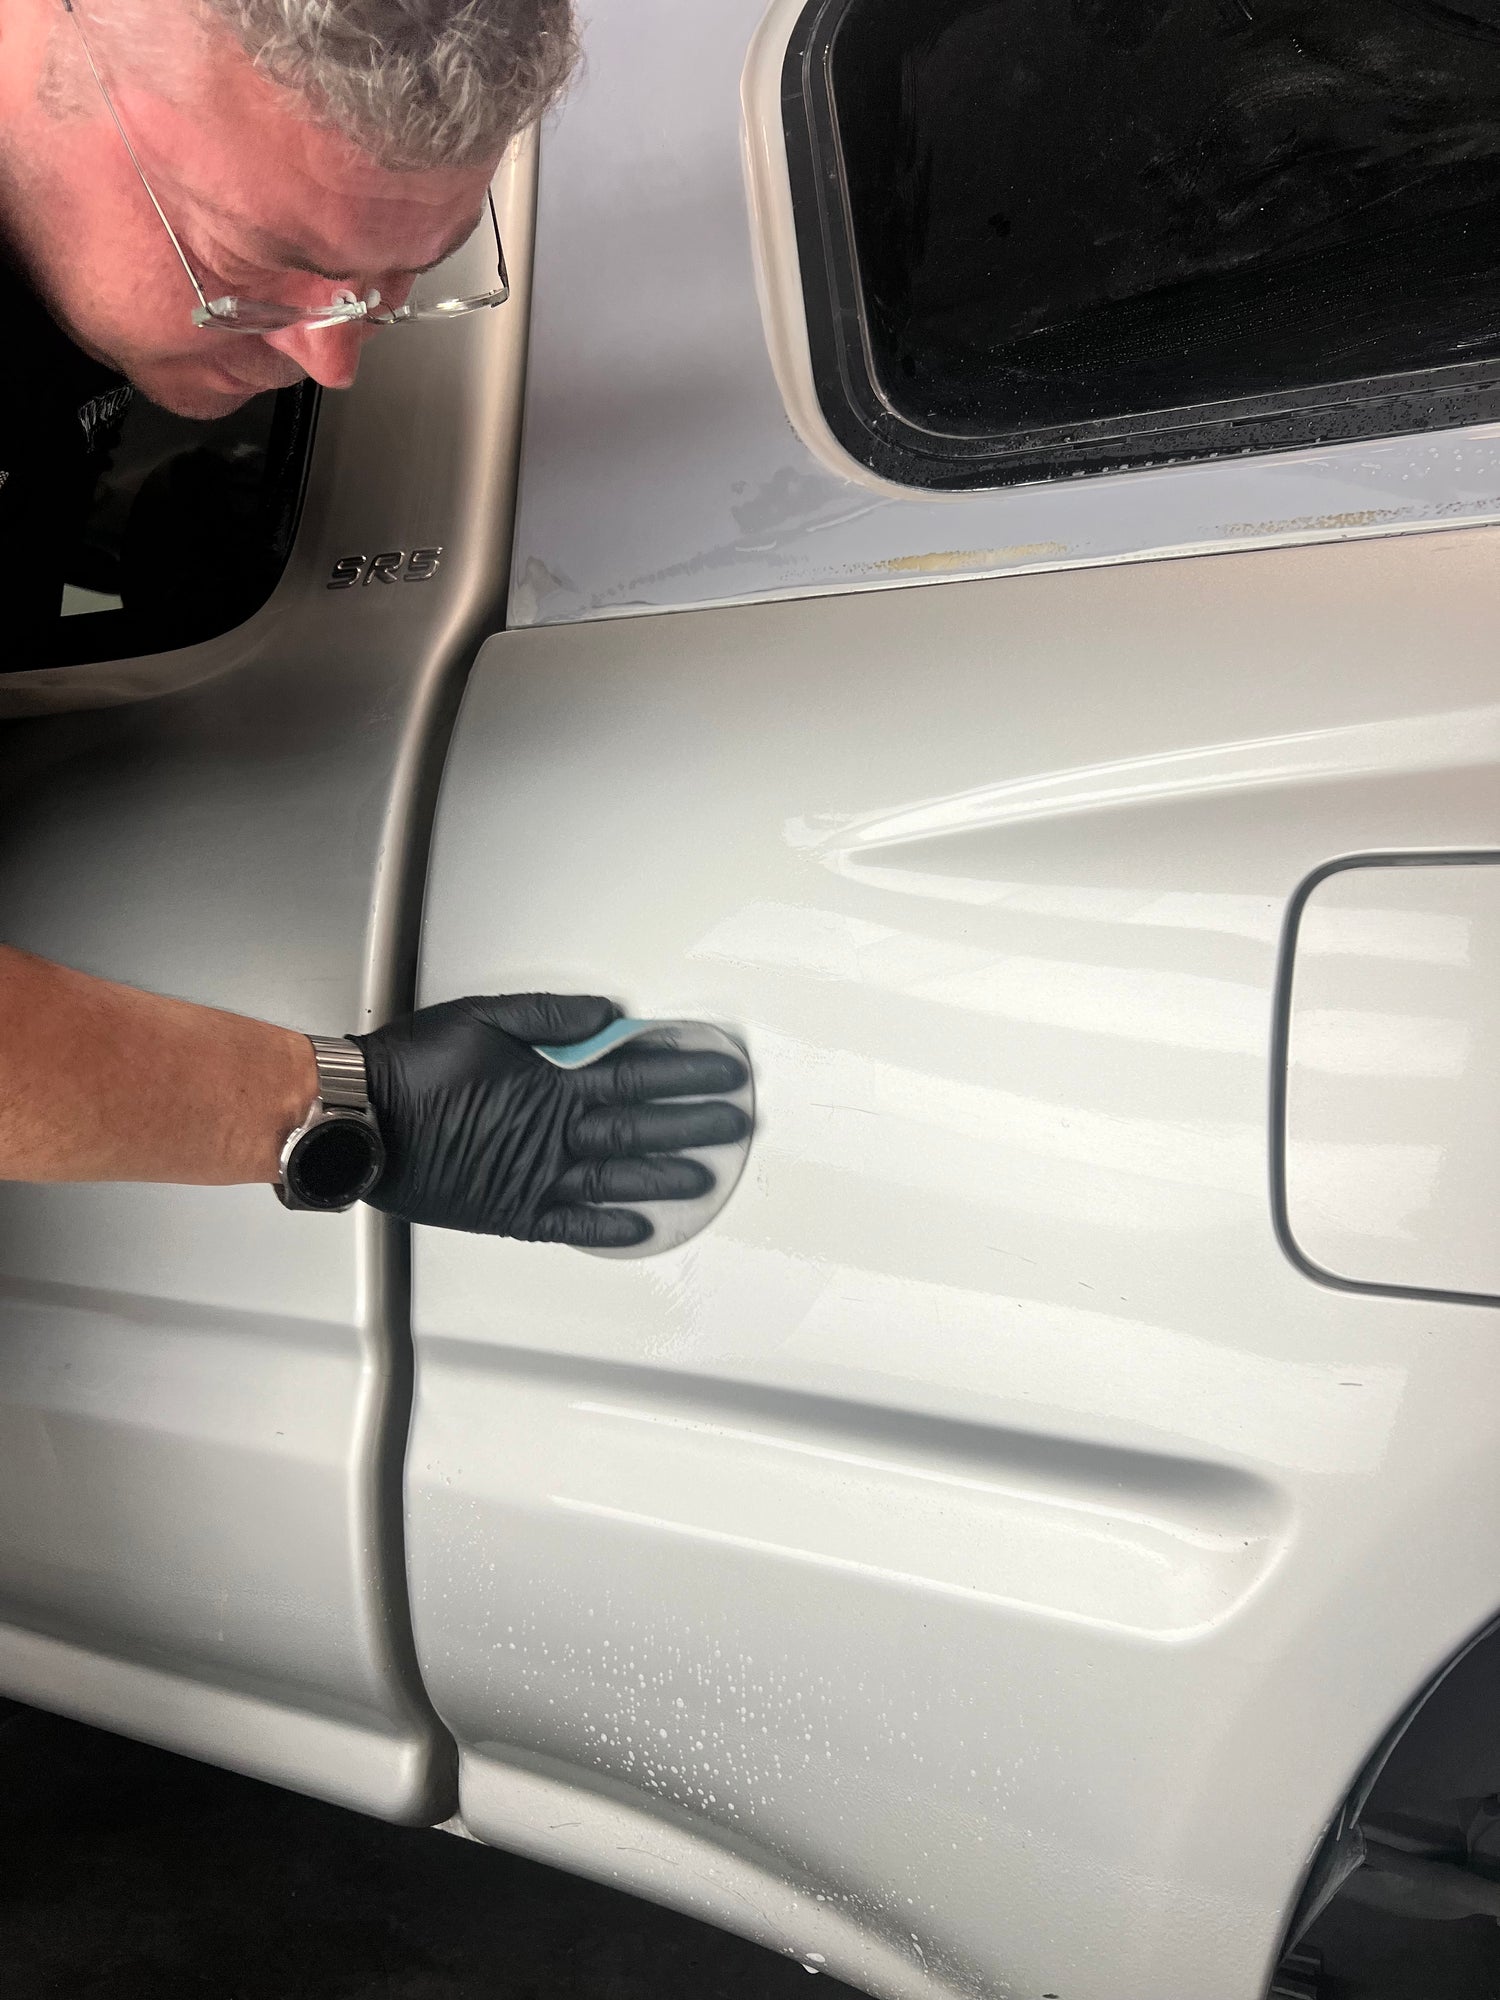
Wet Sanding
By Hand:
The ReGloss kit provides sanding discs that can be used by hand. There is no requirements for a machine to properly wet sand your vehicle.
Taking the 2 provided sandpaper discs, sand half the applied areas of the vehicle with 1 disc and the other half with the other disc using ample water and medium pressure.
If the vehicle has any oxidation, it must be removed during this step. This will require further sanding. Take a look at the removing oxidation video below to learn more.
Step 3 (Alternative)
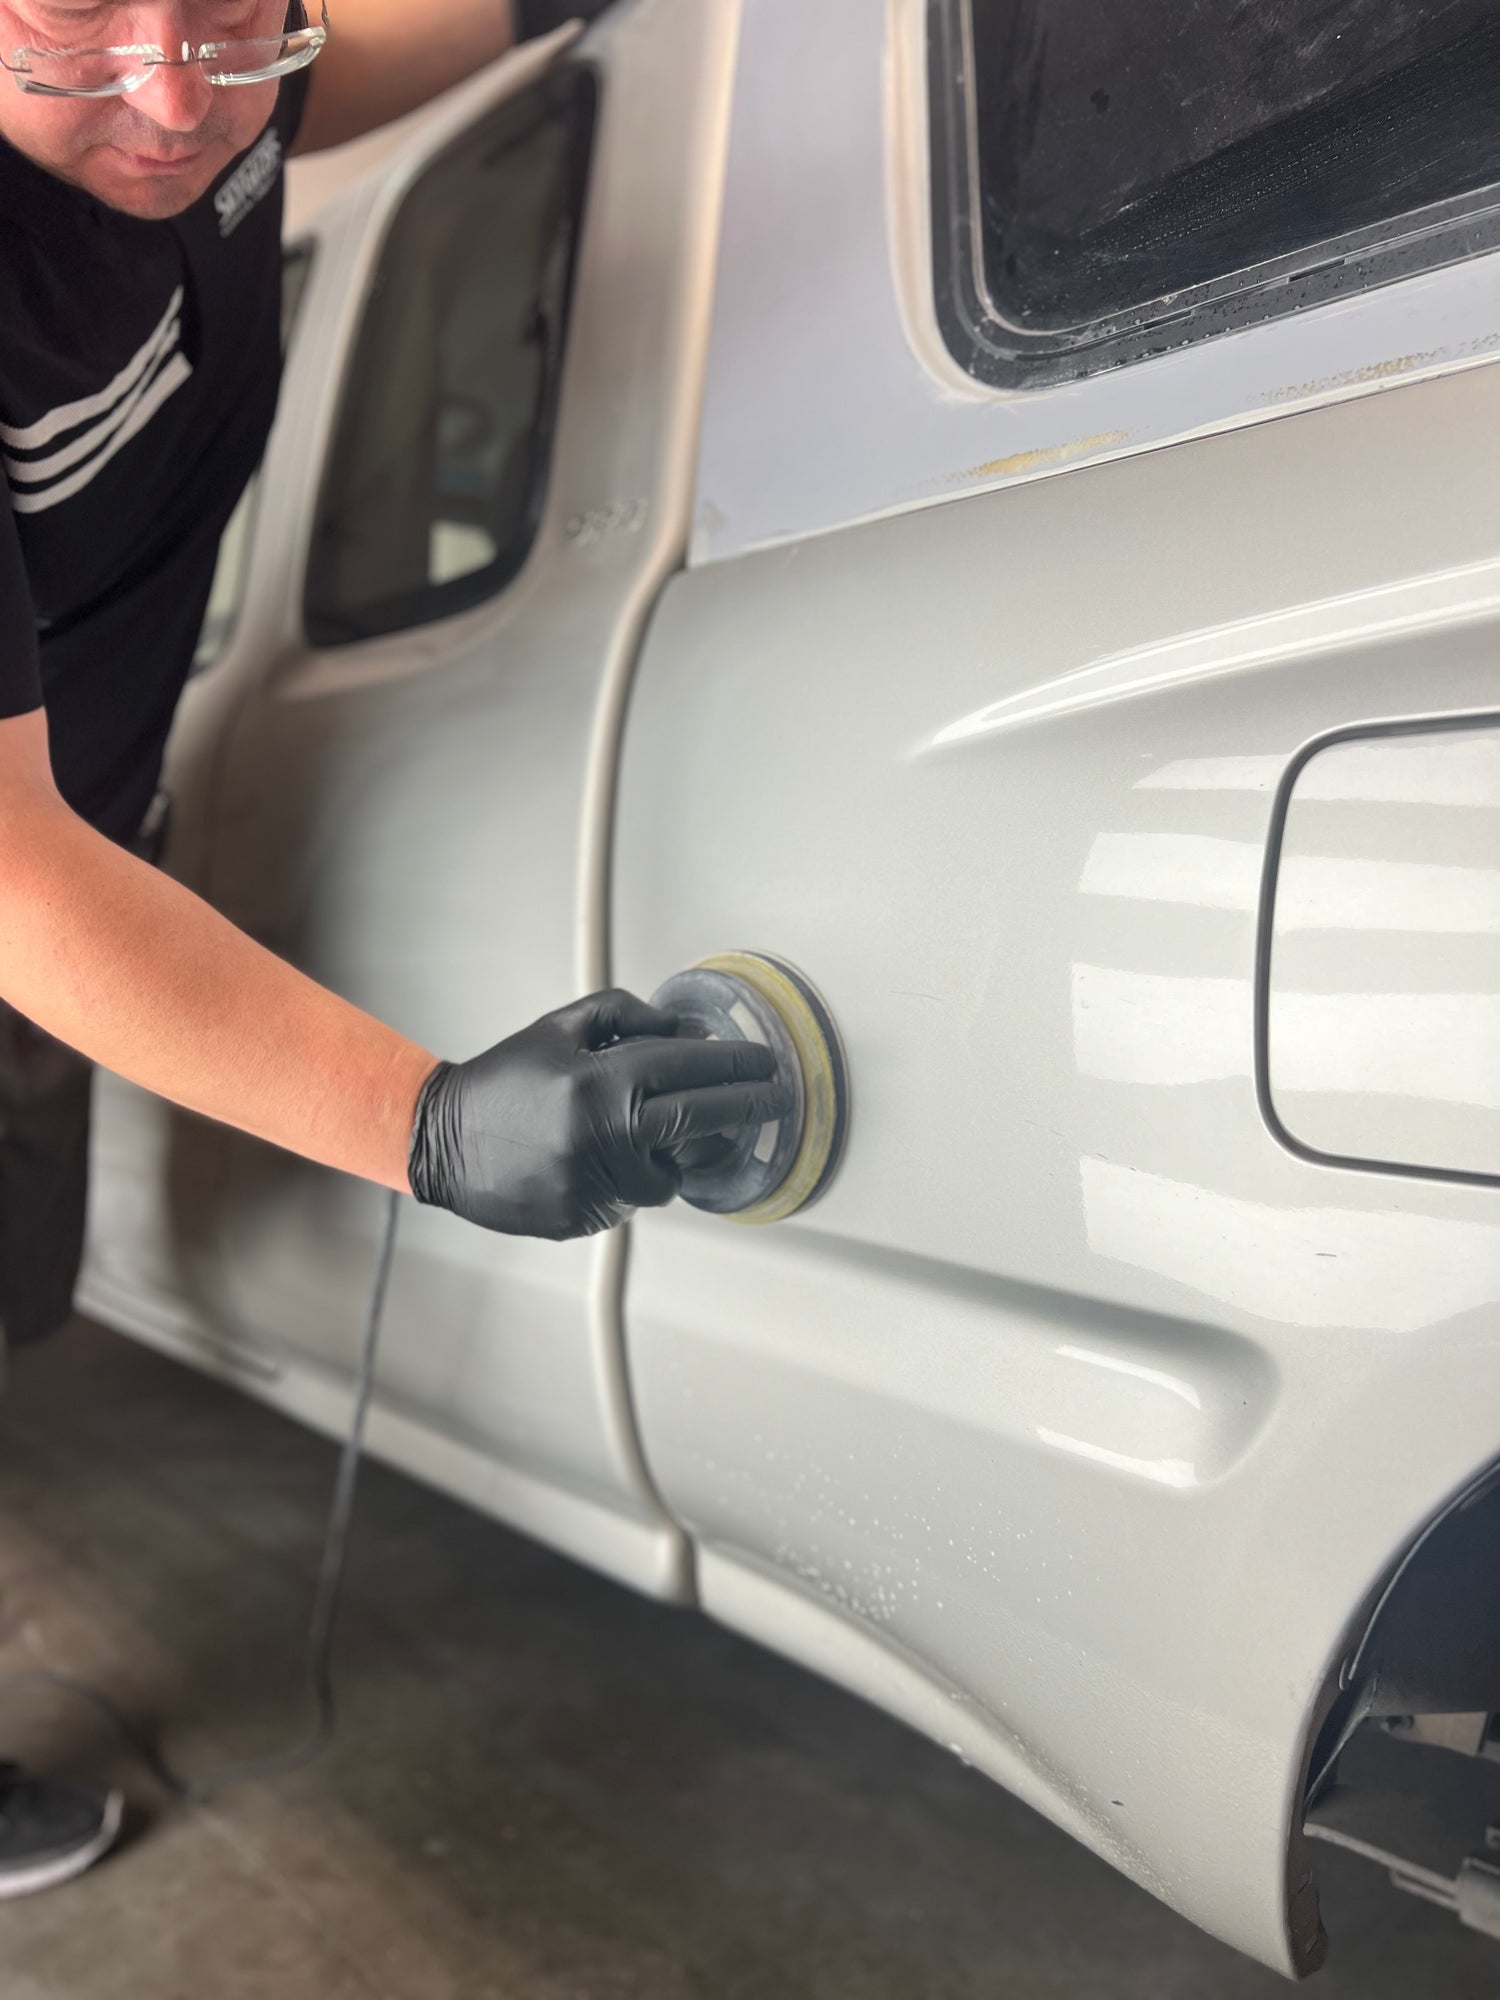
Machine Wet Sanding (not required)
Machine Wet Sanding (optional)
Machine wet sanding is primarily reserved for shops that offer ReGloss as a service. It requires the purchase of a machine sander, that vary in price. To learn more about proper machine sanding, our recommended sanders, and proper technique, visit our YouTube channel and search for those videos.
Taking the 2 provided sanding discs, a 6-inch orbital stander and an interface pad wet sand half the applied area of the vehicle with 1 disc and the other half with the other disc using ample water and medium pressure. Machine sanding can burn edges if you’re not careful, always apply low presser around edges.
If the vehicle has any oxidation, it must be removed during this step. This will require further sanding. Take a look at the removing oxidation video below to learn more.
Step 4
Degrease
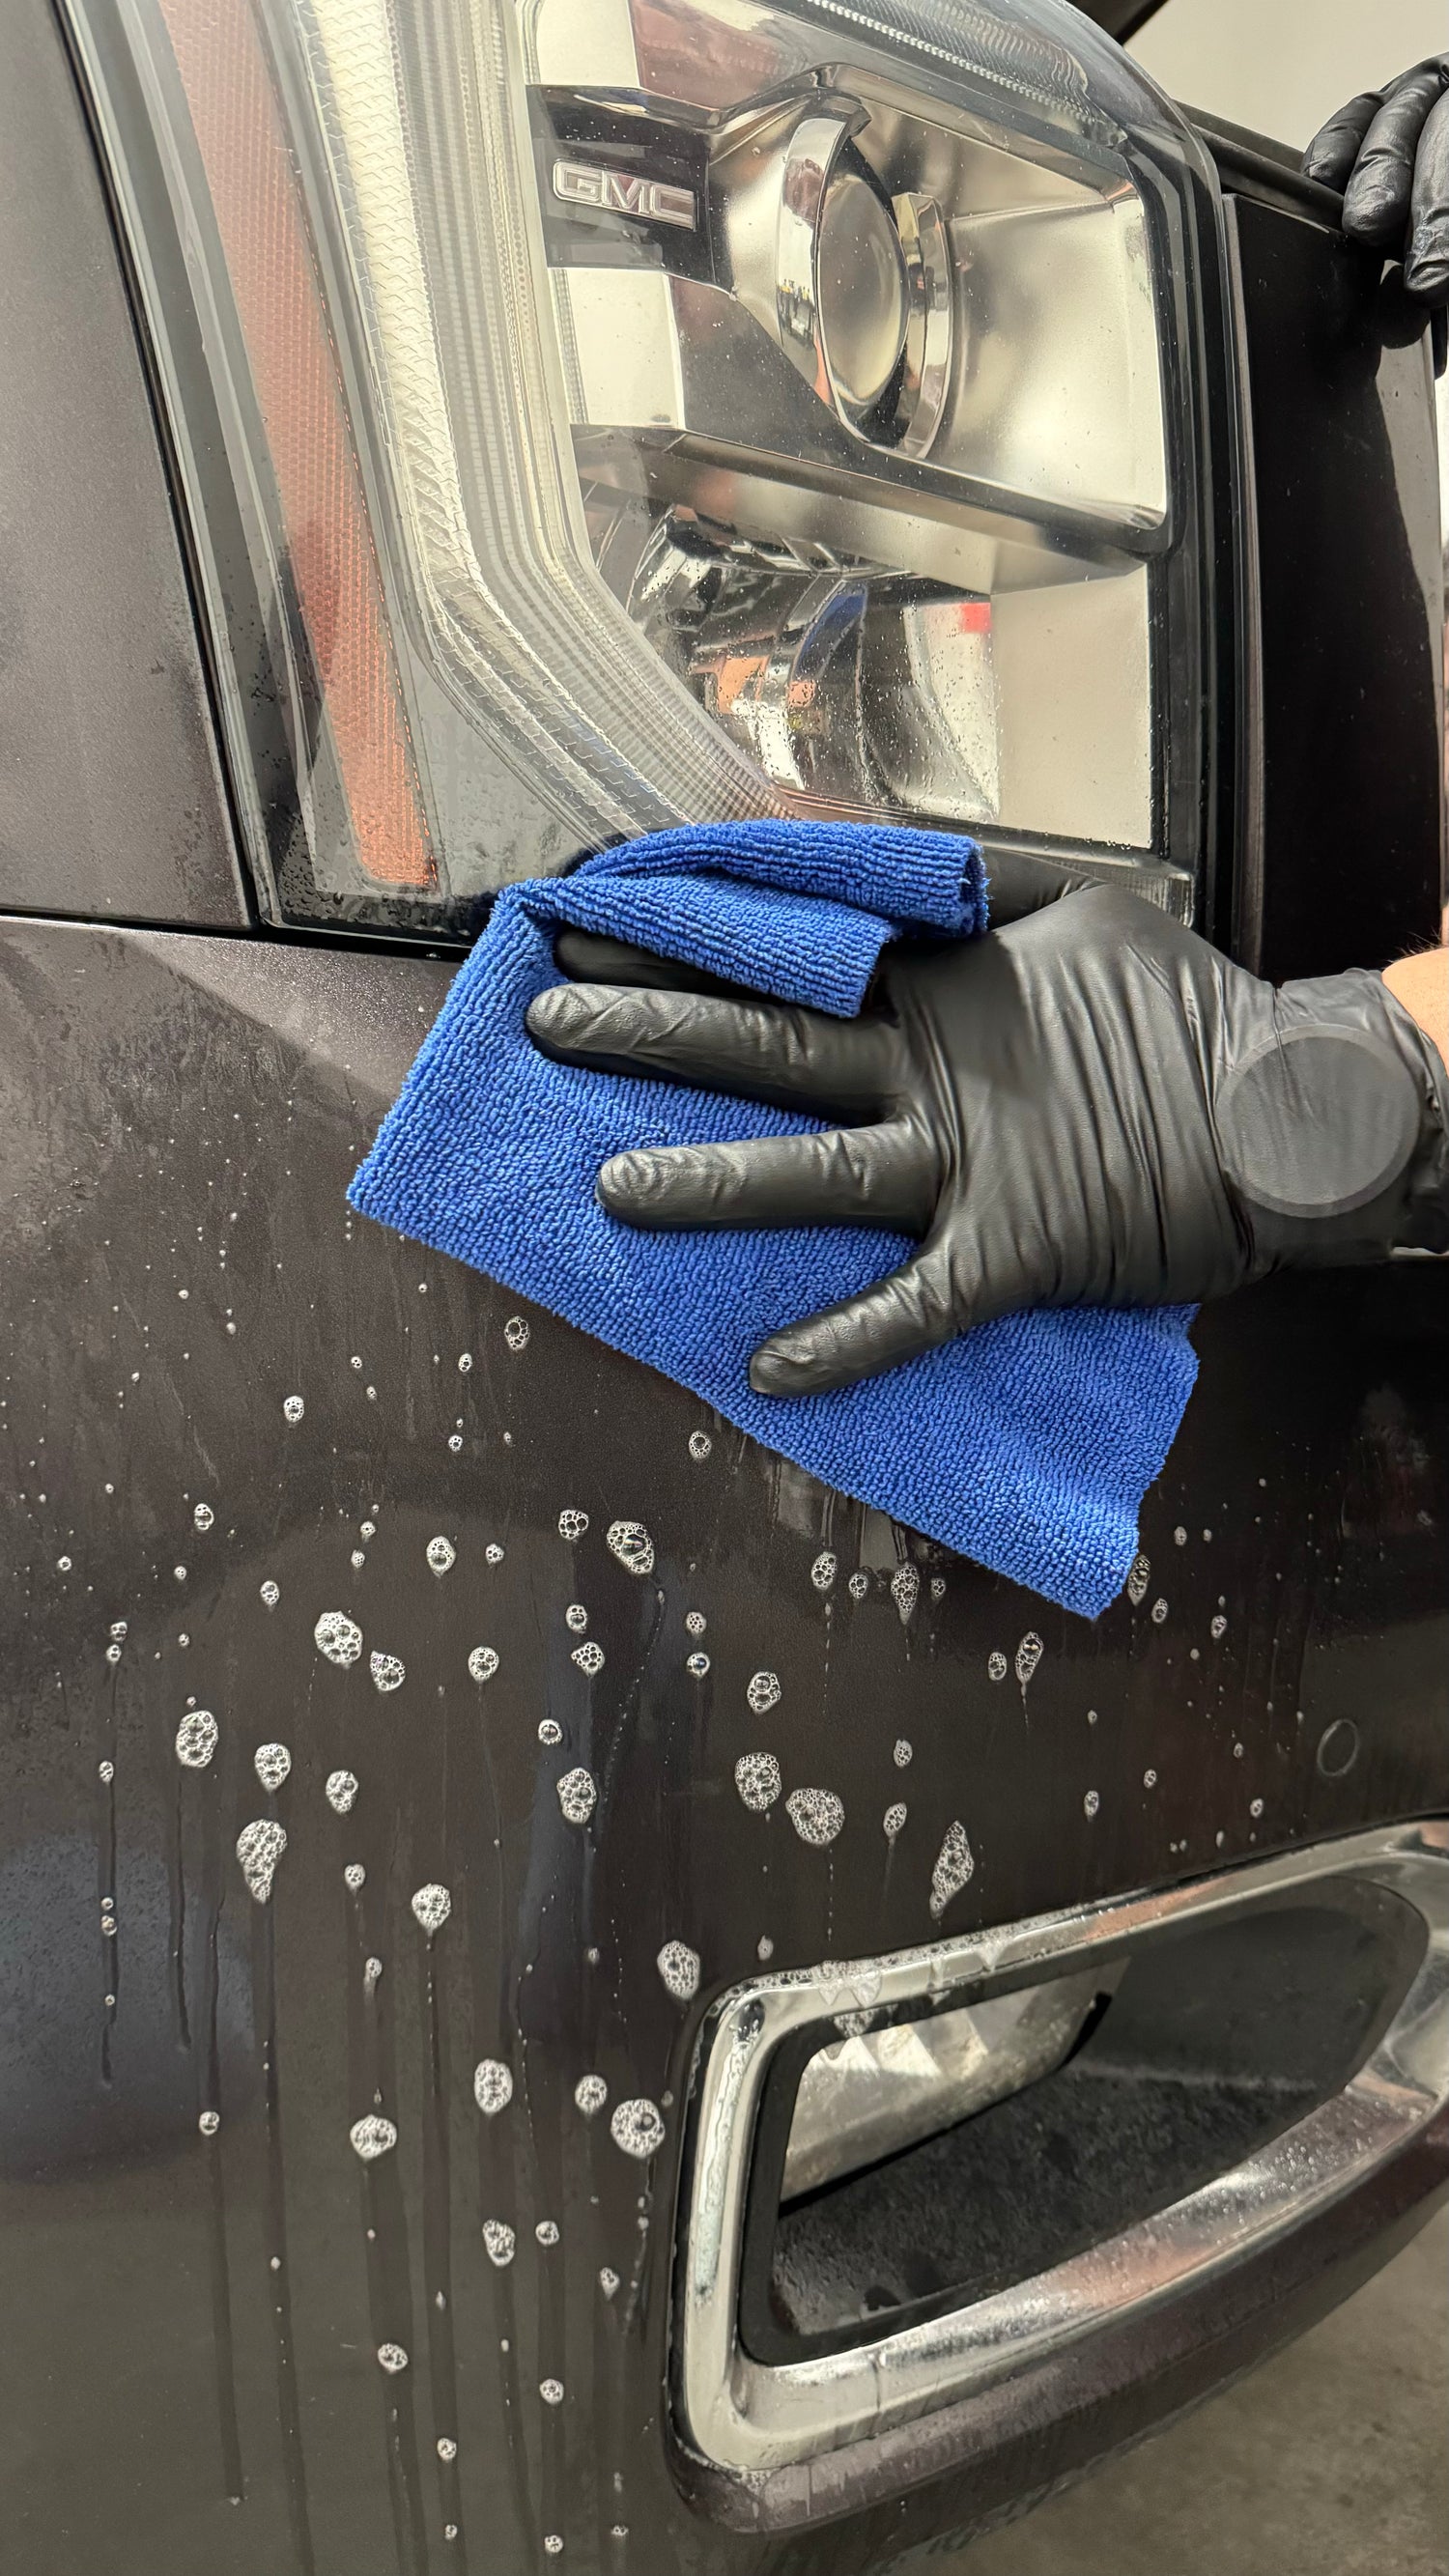
Using a spray bottle, or a two bucket system, mix a cap full of SkyGloss Degreaser per 16 oz (1/2 liter) of water and the provided blue microfiber towels.
It's important to methodically and aggressively remove all wet sanding residue and anything else that might be in the cracks or crevices of the entire vehicle, including door jams, wheel wells and glass. Make sure no water is trapped inside any of the cracks or crevices.
Degreasing the vehicle is simply the act of thoroughly cleaning the vehicle from any visible surface debris prior to the chemical wash and prep that will come later.
Step 6
Chemical Prep (Etch)
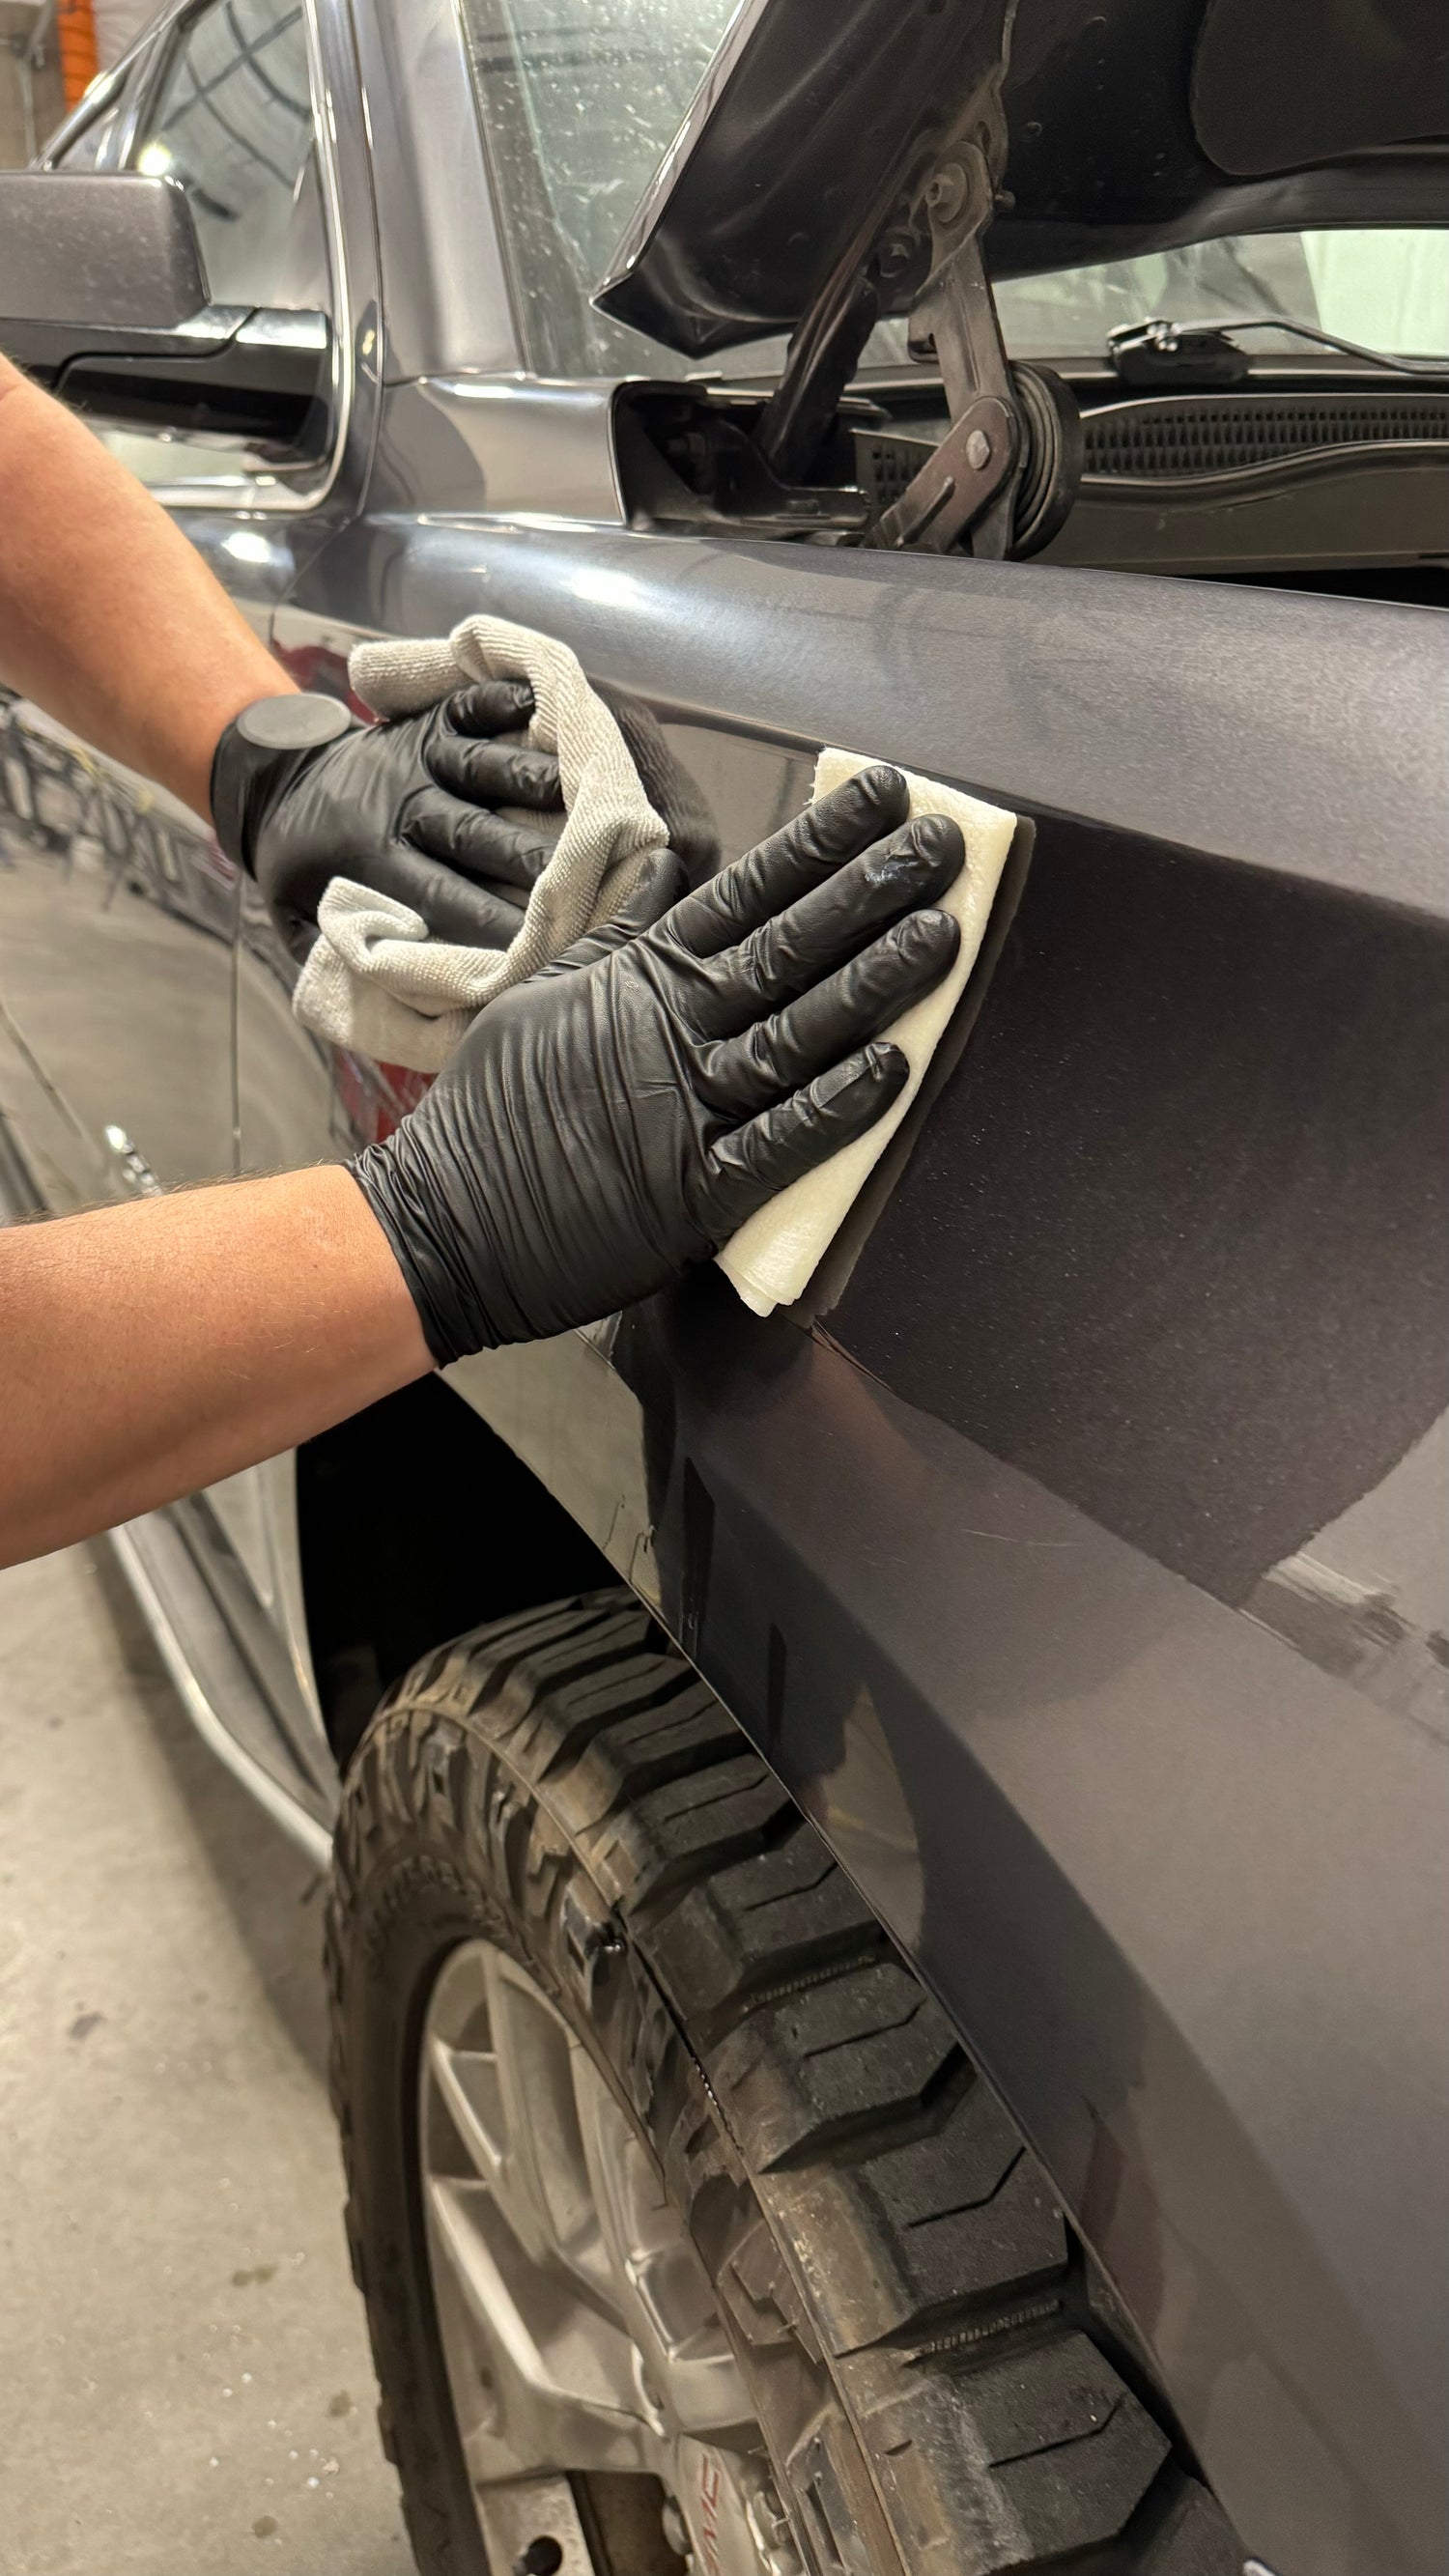
Using the ReGloss Etch solution and provided gloves, fold sheets of paper towel, with firm pressure, clean the vehicle with the provided ReGloss Etch solution.
Make sure to flip and/or replace the folded paper towel often, applying more ReGloss Etch each time. Use firm pressure during this process to properly bathe the vehicle in the chemicals. This should include all cracks and crevices and door jams.
With the white microfiber remove the Etch after each pass, flipping the microfiber often. The white microfiber towel should reveal minimal or no contamination (dirt, grease, debris) as the vehicle should be extremely clean at this stage. Do this in small sections at a time, wiping the paper towel and removing the Etch every few feet.
For best results, visit our YouTube channel and learn proper use of the Etch prep process. This is a crucial stage in the process to achieve the best possible result during application.
Step 5
Tape
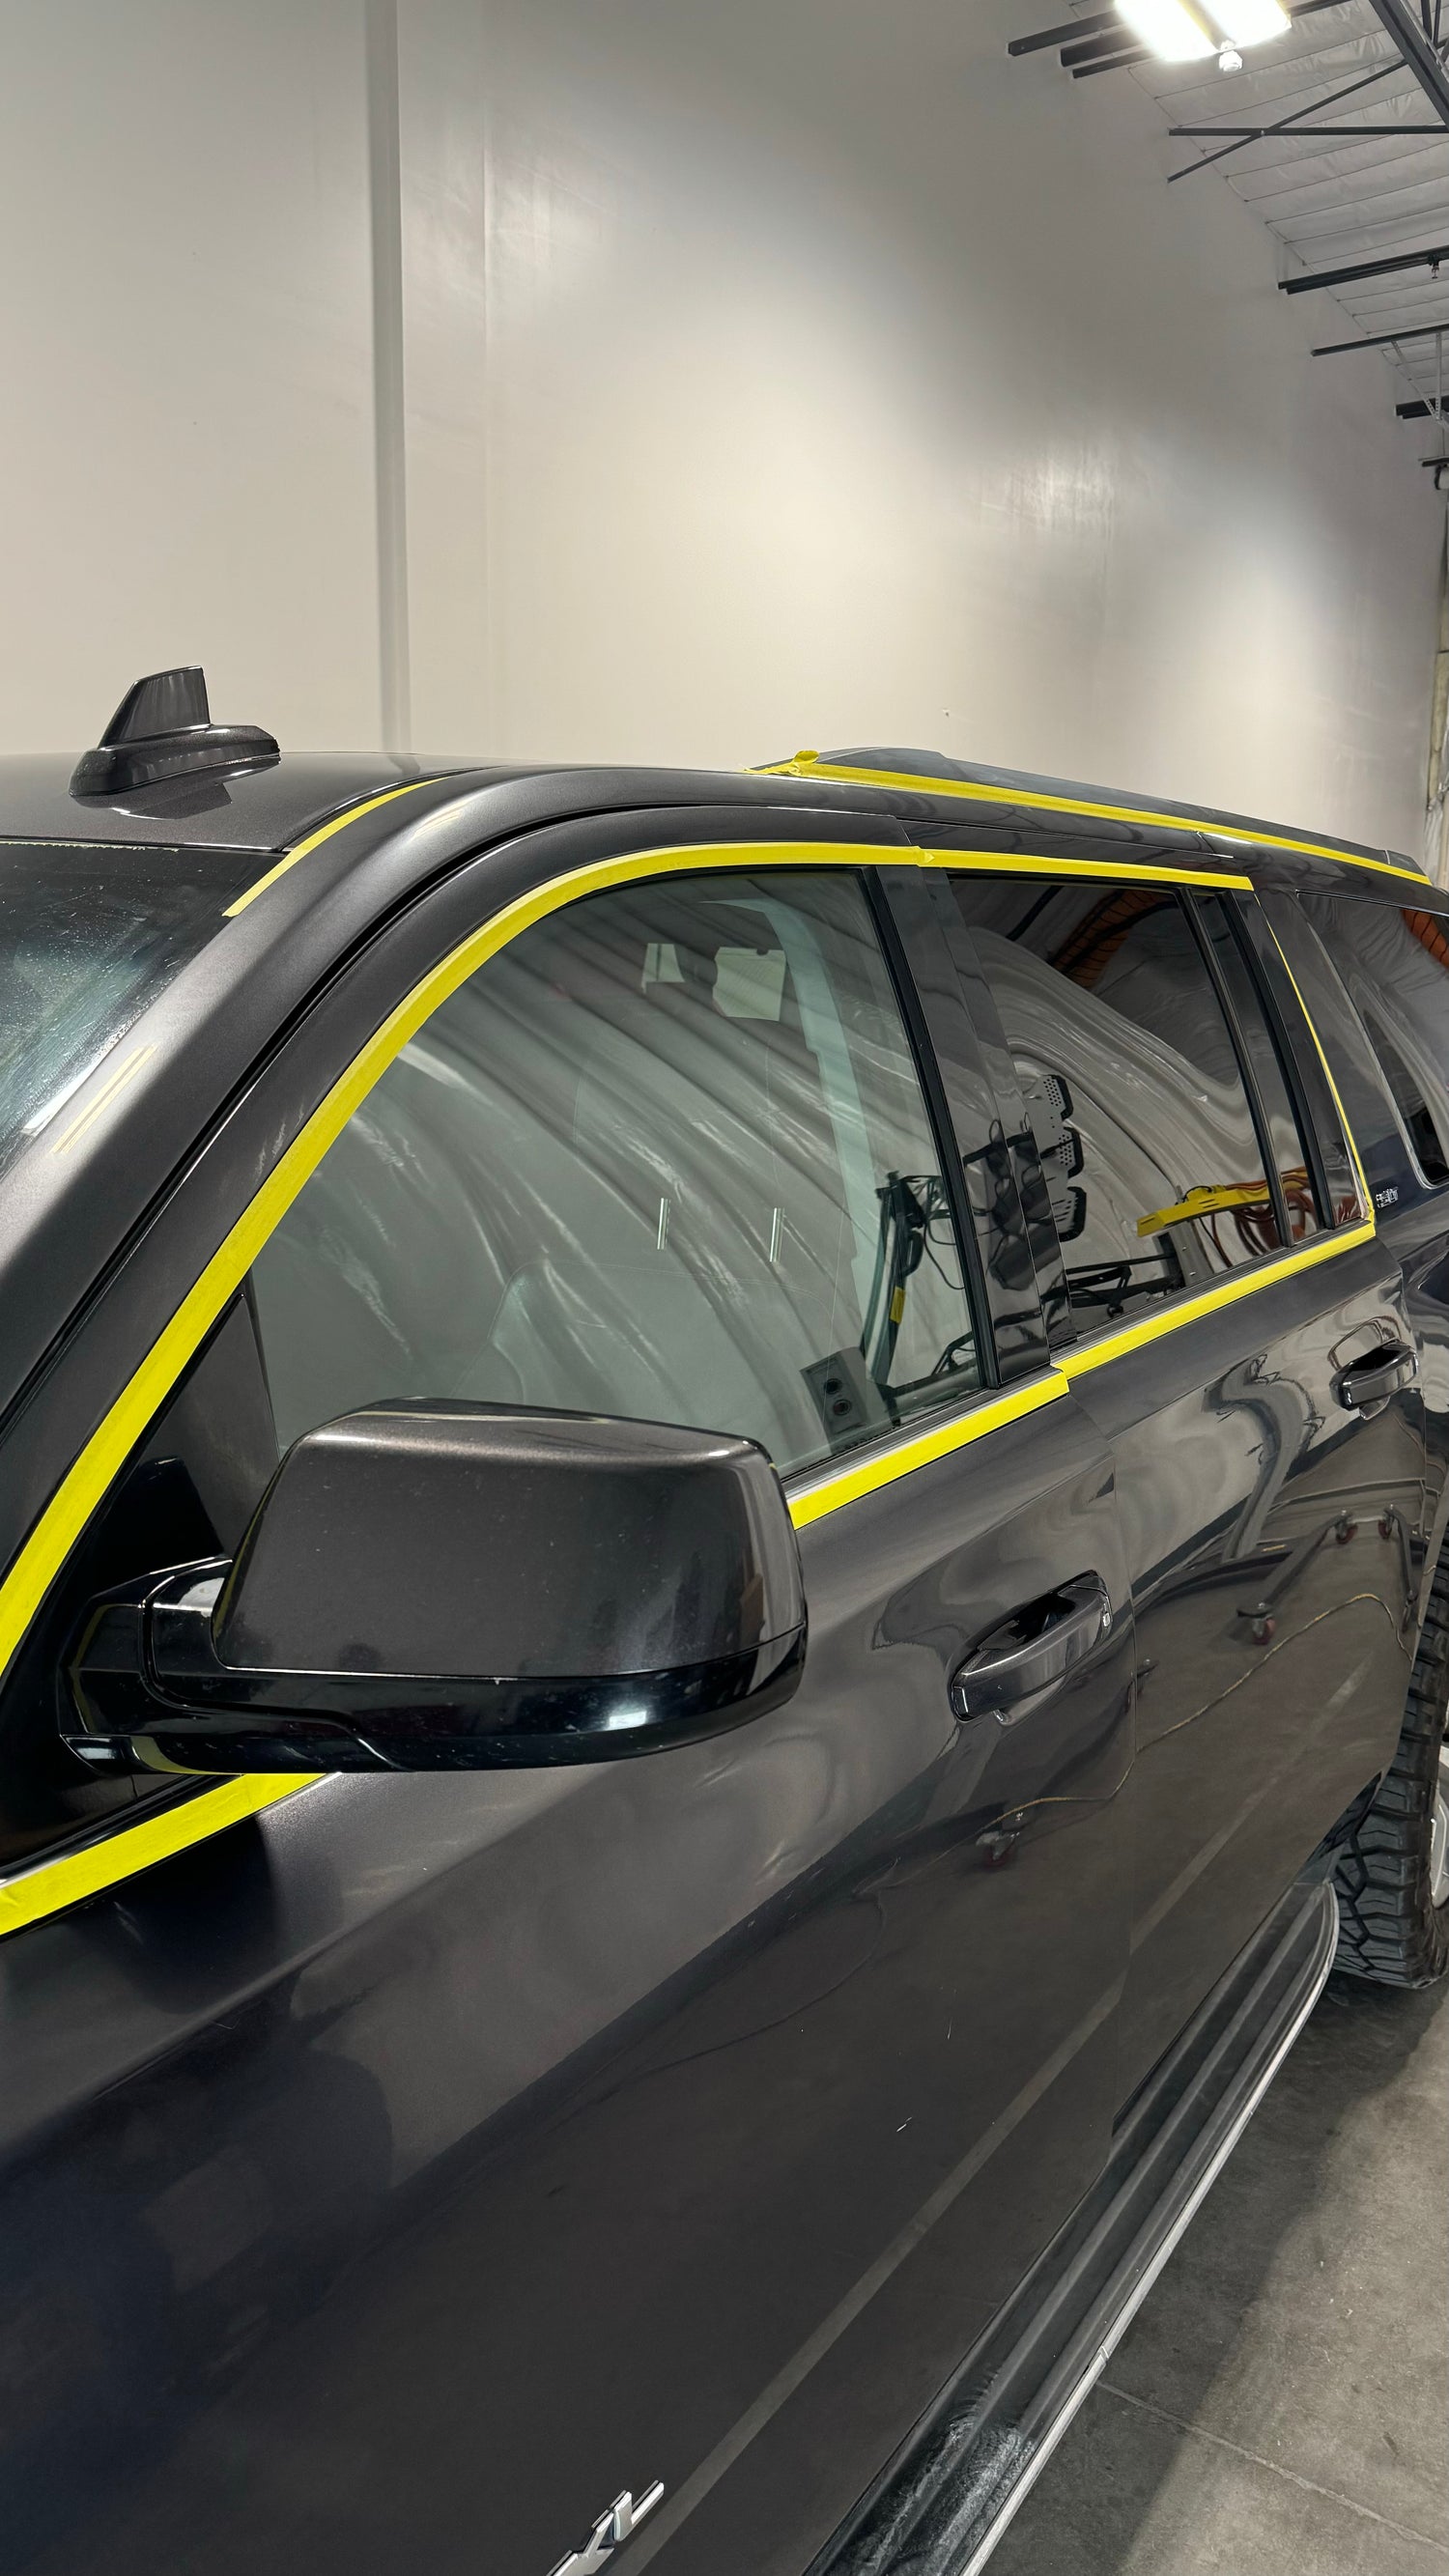
Using the provide roll of tape, tape off all edges of trim and molding that you do not want to touch with the ReGloss applicator.
Making sure your run a clean and smooth tape line not actually touching any of the paint finish that will be applied to.
Taping allows you to move easier around the non-painted areas of the vehicle during the application phase. Certain things suchs a rubber, must be taped off or the chemicals in the ReGloss product will spread contamination on the vehicle during application. Other areas, such as plasics, glass, chrome don't necessarily need to be taped off as the ReGloss product can be removed from these areas after application.
However, for the easiest application process, it is best to tape off as much of the vehicle before application instead of not taping things off.
We have extensive videos on proper taping procedure on YouTube.
IMPORTANT REMINDER
The key point in preparation is to get the vehicle as clean and decontaminated as possible. You want your paint/clearcoat surface as clean and dull as possible. Like many things in life, the more time you take to prep your vehicle properly, the better results you will get during and after application. Spend the time to do things thoroughly and your vehicle will thank you. Visit our YouTube channel and watch multiple videos on how we properly prepare a vehicle for ReGloss application and you will have the knowledge and confidence to do this correctly!
Application Of ReGloss
It is imperative that you watch, learn and, most importantly, understand our ReGloss videos on YouTube.
Simply reading instructions is not sufficient if you wish to get the best results possible.
We have an extensive library of videos on YouTube that show the application process, tricks and tips, fixing mistakes, removing ReGloss when necessary and best practices overall.
Please click the link below to visit our YouTube channel and properly study the process for 1-2 hours prior to using your ReGloss product.
ReGloss is a professional product that requires a basic level of understanding. With proper time investment, anyone can achieve great results but you must take time to learning about the product and process before your first use.
Step 1
Safety
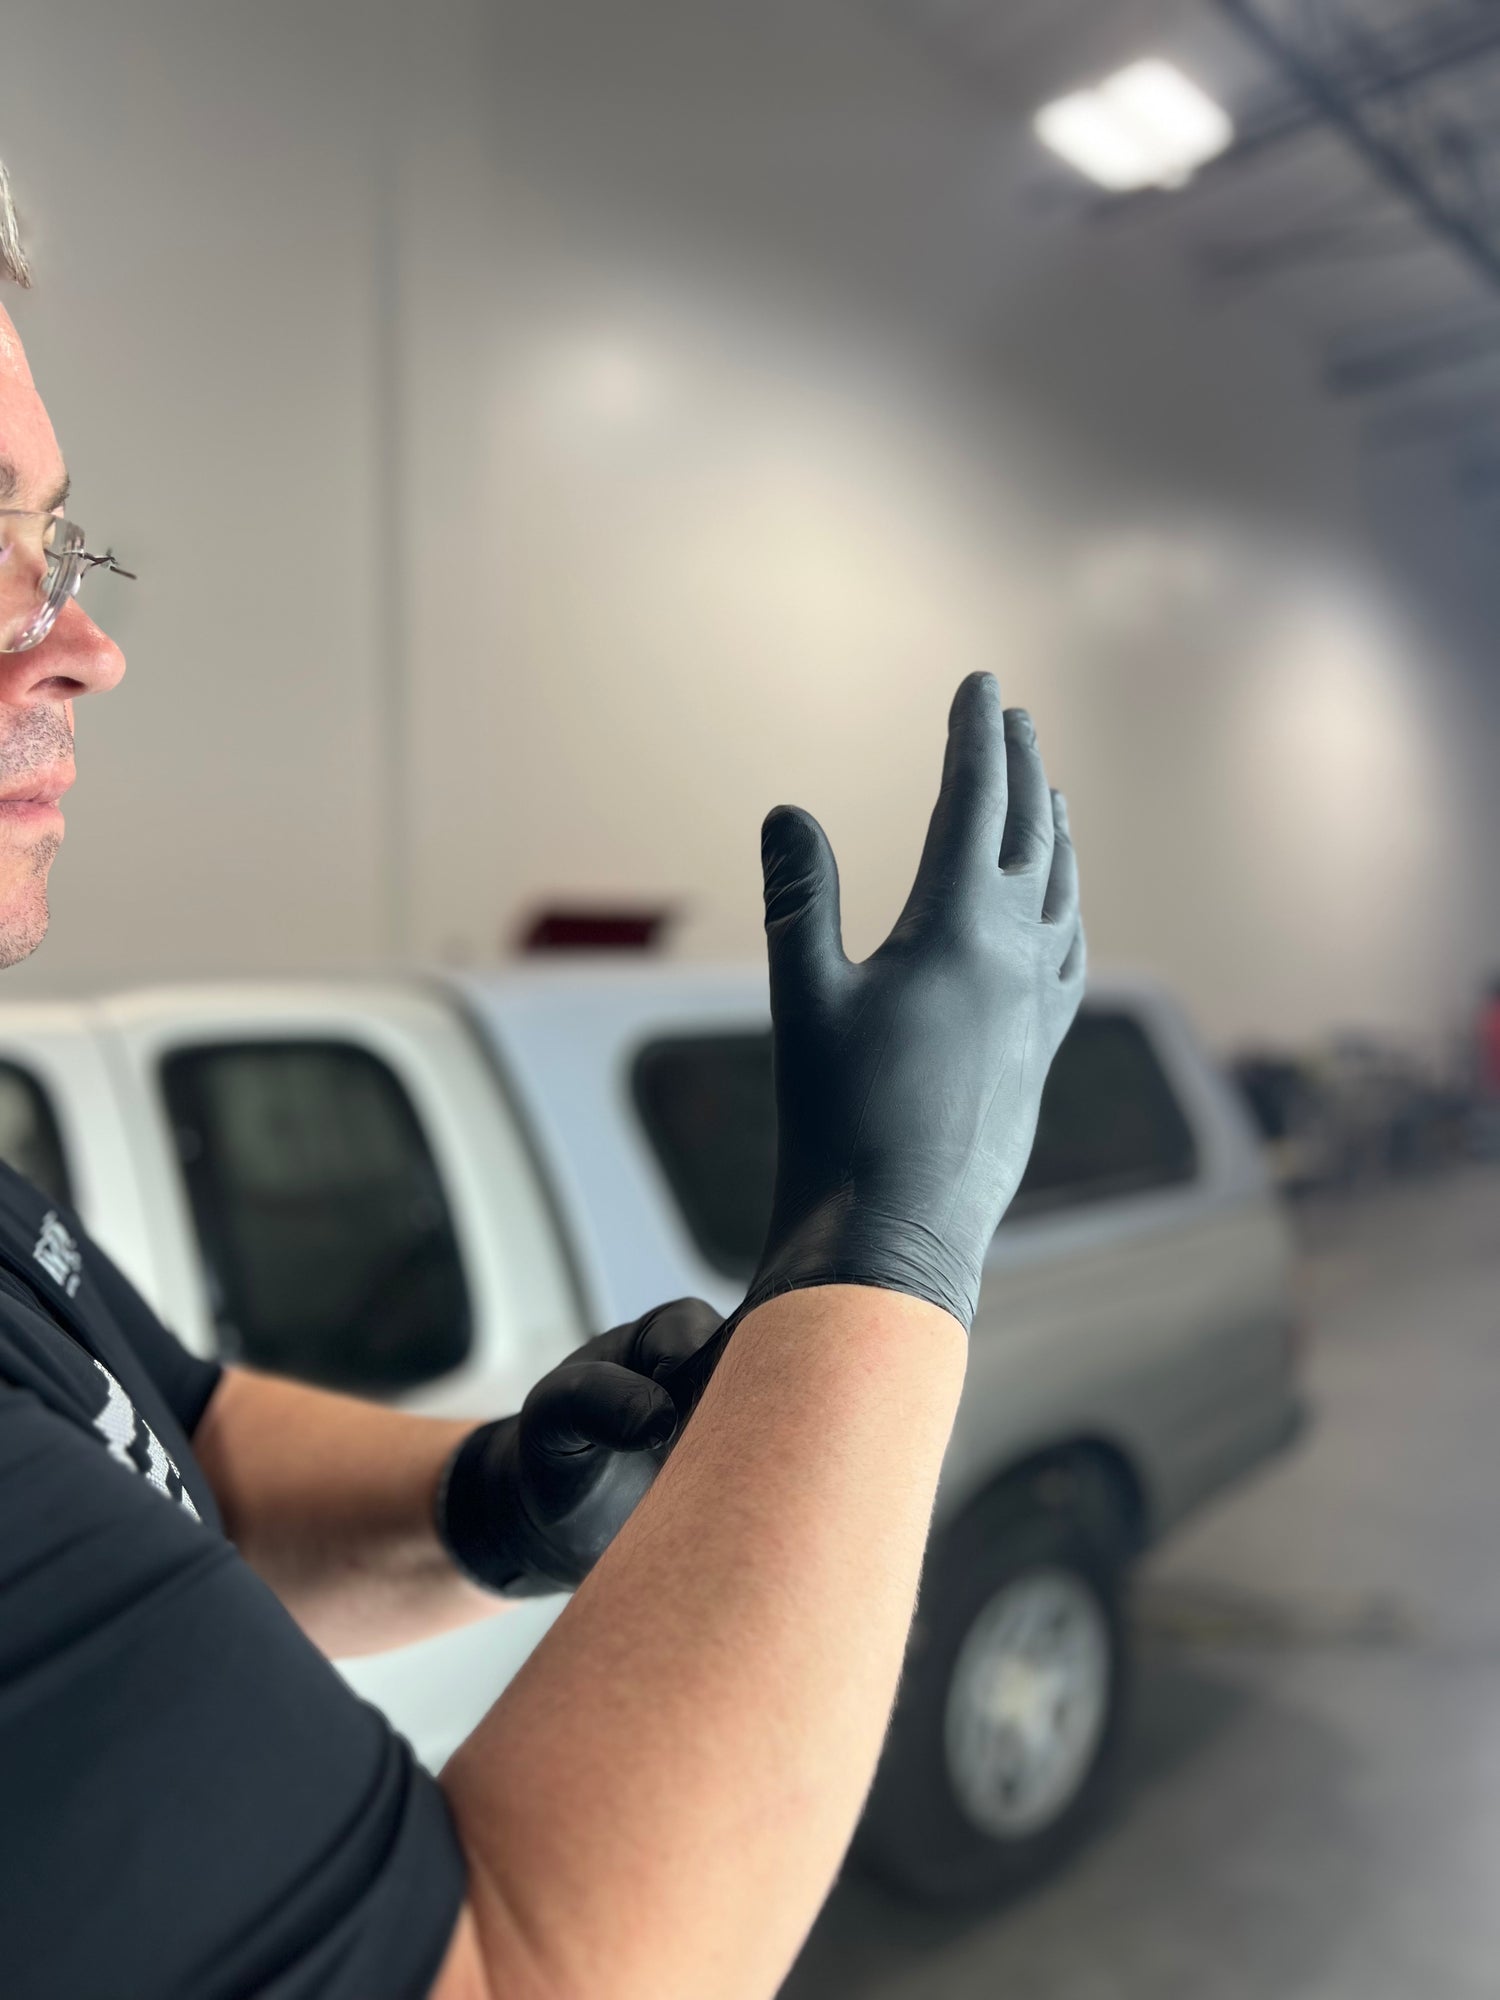
Please make sure to use care when working with ReGloss products. Use the provided gloves and mask before opening the applied product. Do not get on eyes or skin. Safety Data Sheets and Technical Data Sheets are included in the kit for proper understanding of the materials you are working with. Visit our YouTube channel for examples of proper handling of the product prior to use.
Step 2
Mix ReGloss Product
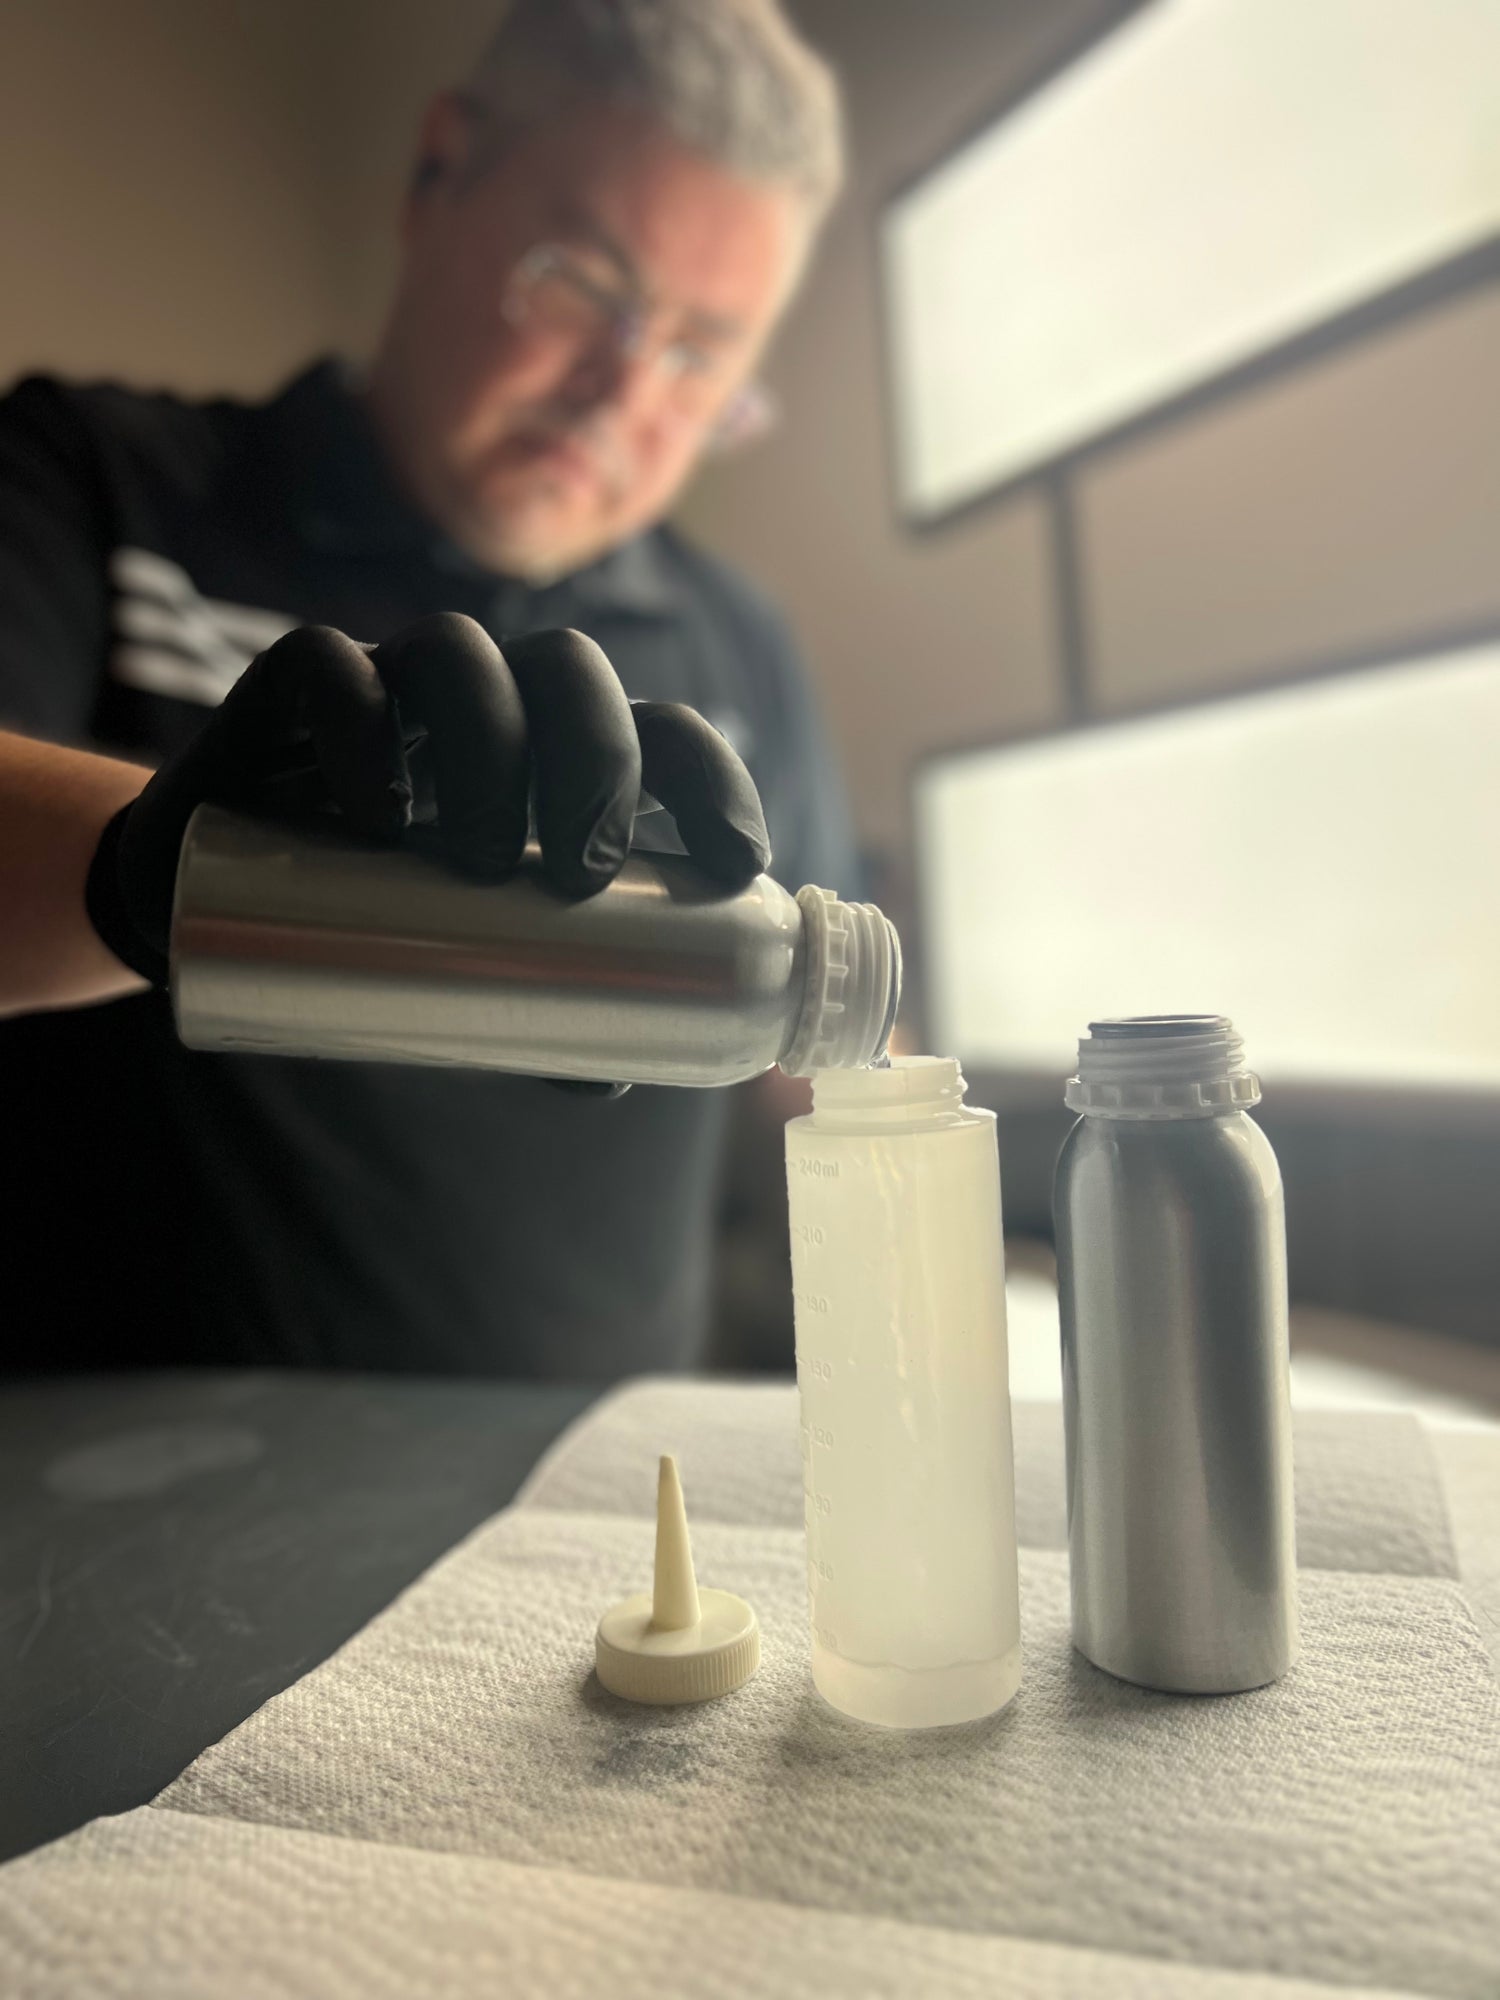
ReGloss is a 2-part solution that needs to be mixed 15 minutes prior to application. You then have 2 hours to work with the mixed product. On average it can take a first-time user 1-2 hours to complete a vehicle.
We recommend mixing 4 oz (118 mL) to start. An average size vehicle will take around 7 oz (207 mL) and a larger vehicle will take around 9 oz (266 mL). Starting with 4 oz (118) to start will allow you to know roughly how much to mix on your second time.
All ReGloss kits come with 16oz (473 mL) of product which is more than sufficient for a single vehicle, including fixing mistakes and possibly redoing panels that have issues on the first attempt.
You will mix equal parts of Gloss & Activator into the provided applicator bottle. For example, you will mix 3oz of Gloss and 3oz of Activator to create 6oz of ReGloss inside the applicator bottle.
Step 3
Load Applicator Pad
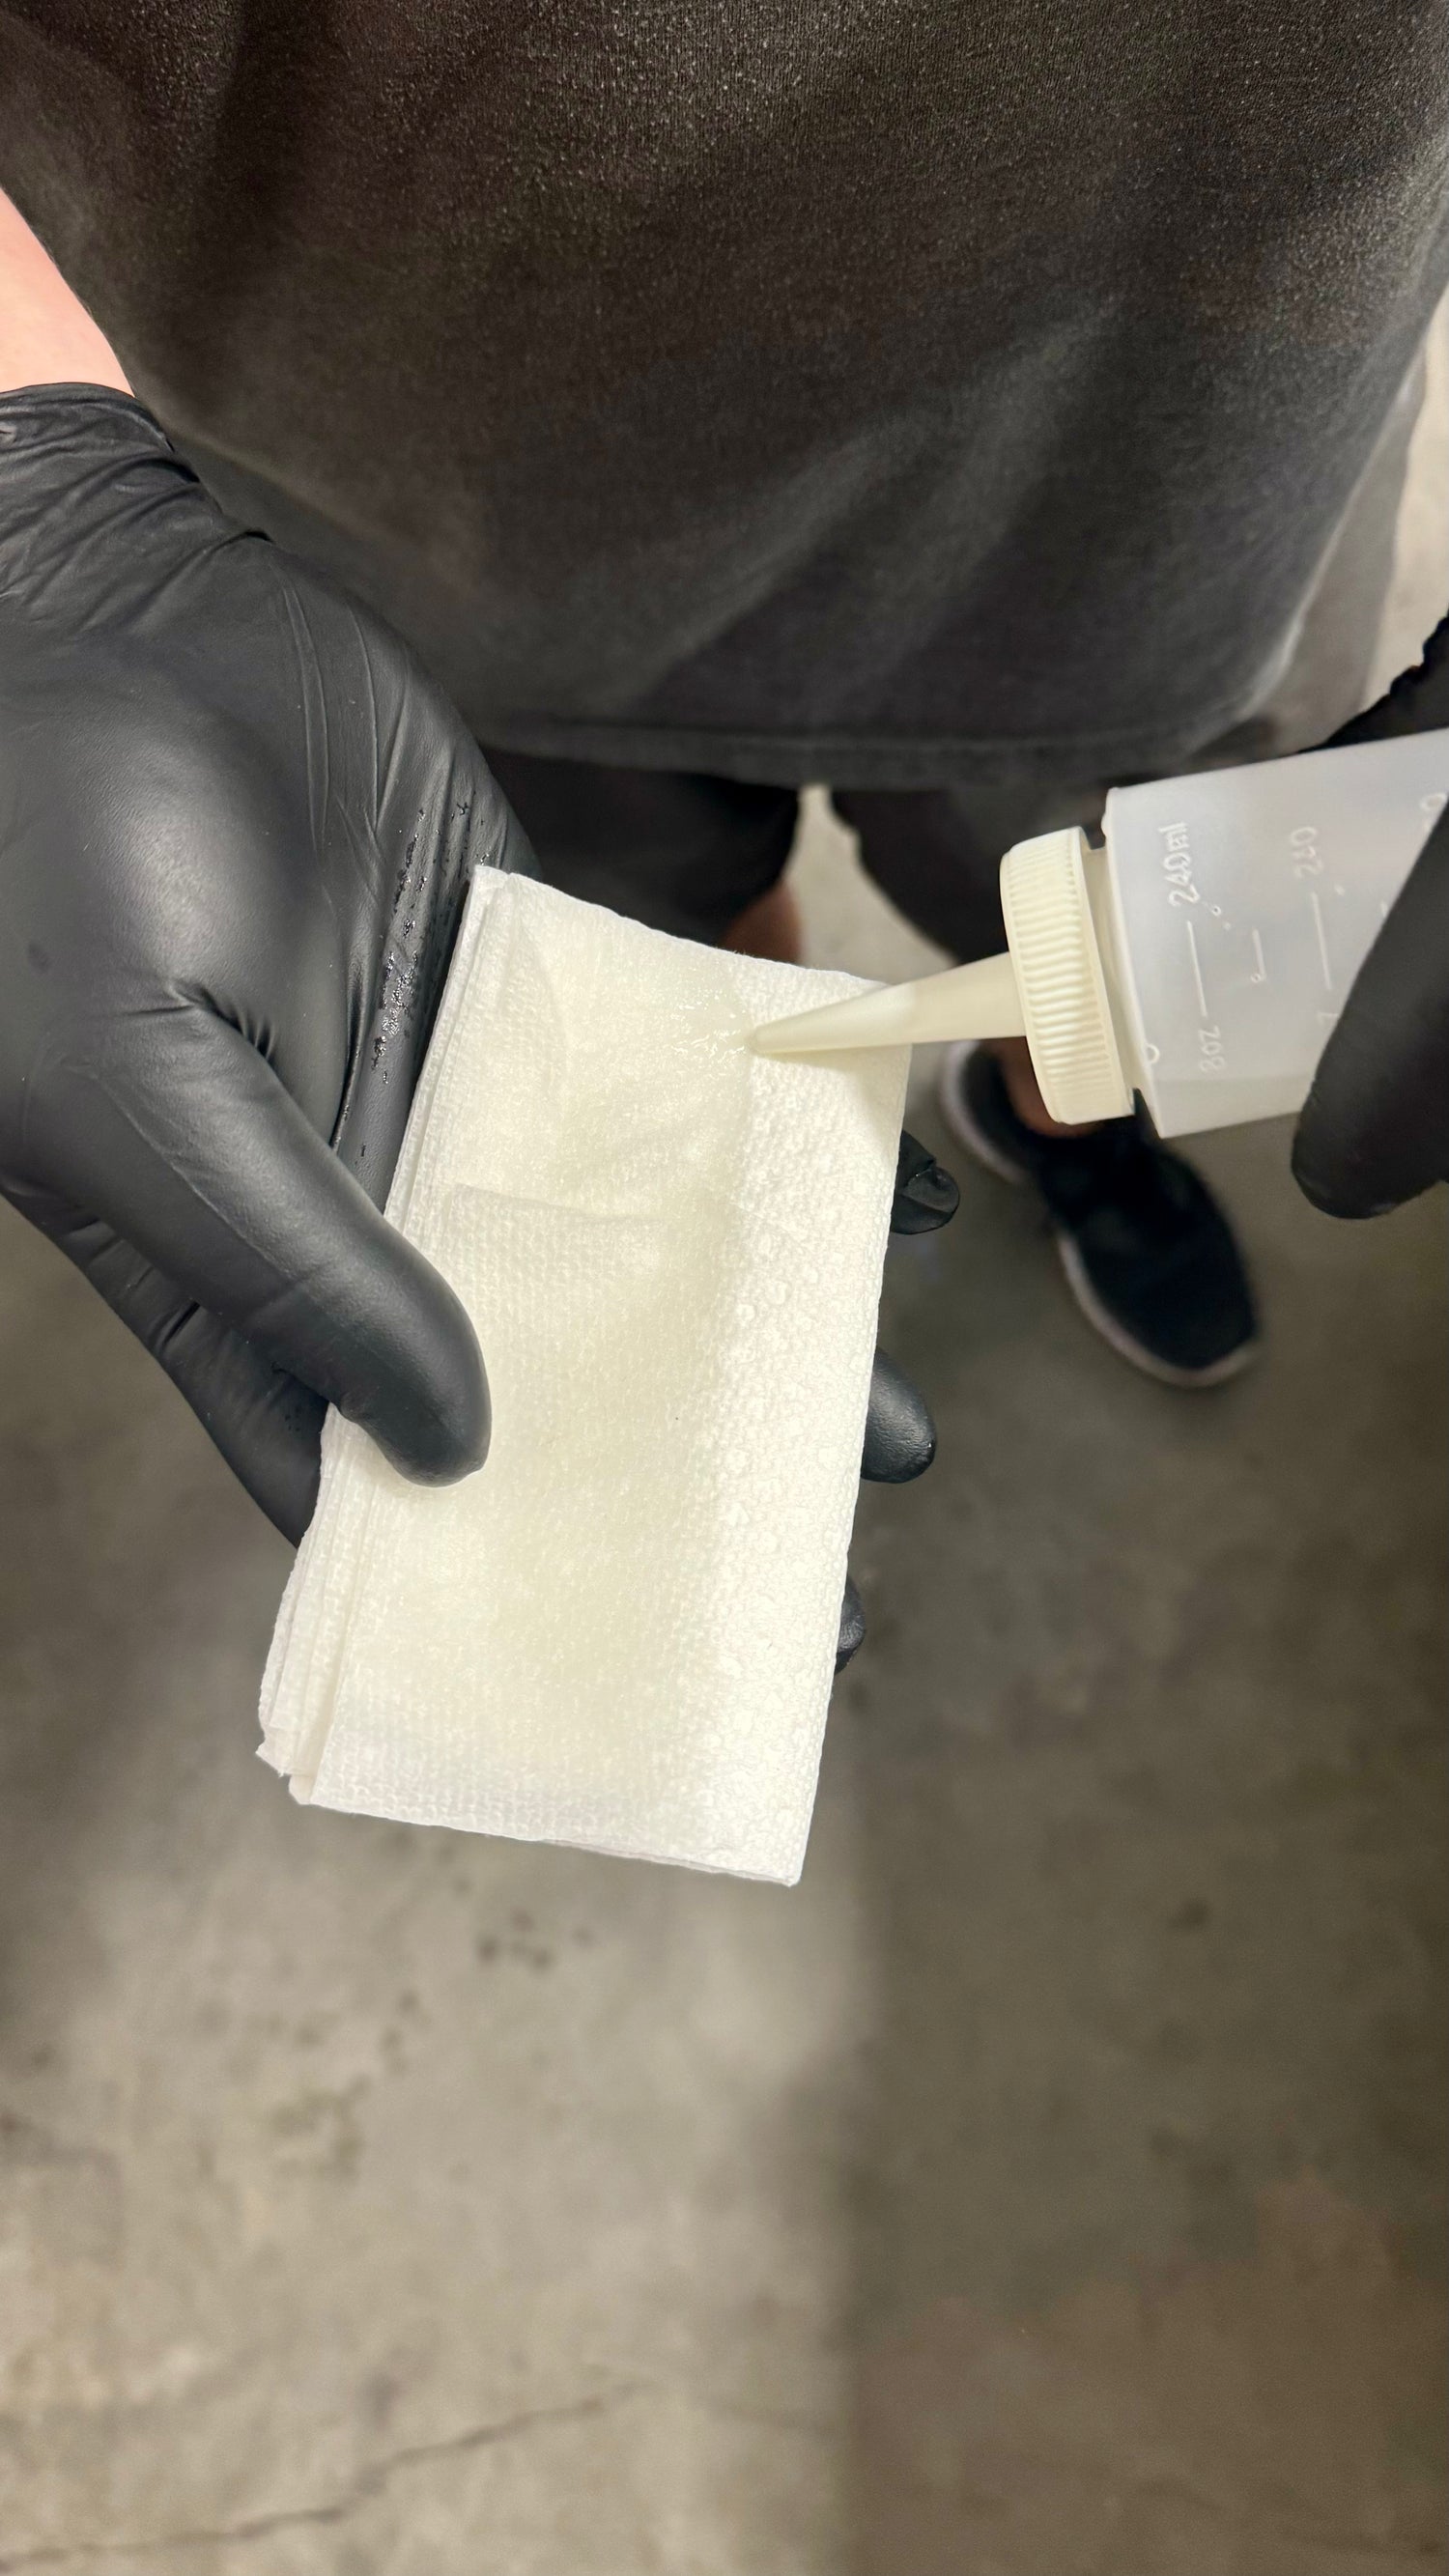
With the provided pre-folded applicator, pour 1 oz (30 mL) of product evenly on the entire surface of the applicator. This is to preload your applicator as you do not want to have any dry areas that will cause the application to streak.
If the vehicle is thoroughly prepped, you can use one applicator for the full vehicle.
To properly load the applicator, you will apply a total 1oz of total ReGloss product to the applicators exterior surface and open the applicator and continue applying ReGloss to the interior surface. In total, this will all equate to 1oz of ReGloss product. If you go over 1oz that is not an issue however aim to achieve as close to 1oz total as possible when loading the applicator.
Visit our YouTube channel for simple video instructions on properly loading your provided applicators and how to create new applicators at home if you need more than the provided two (2) that come in the kit.
Step 4
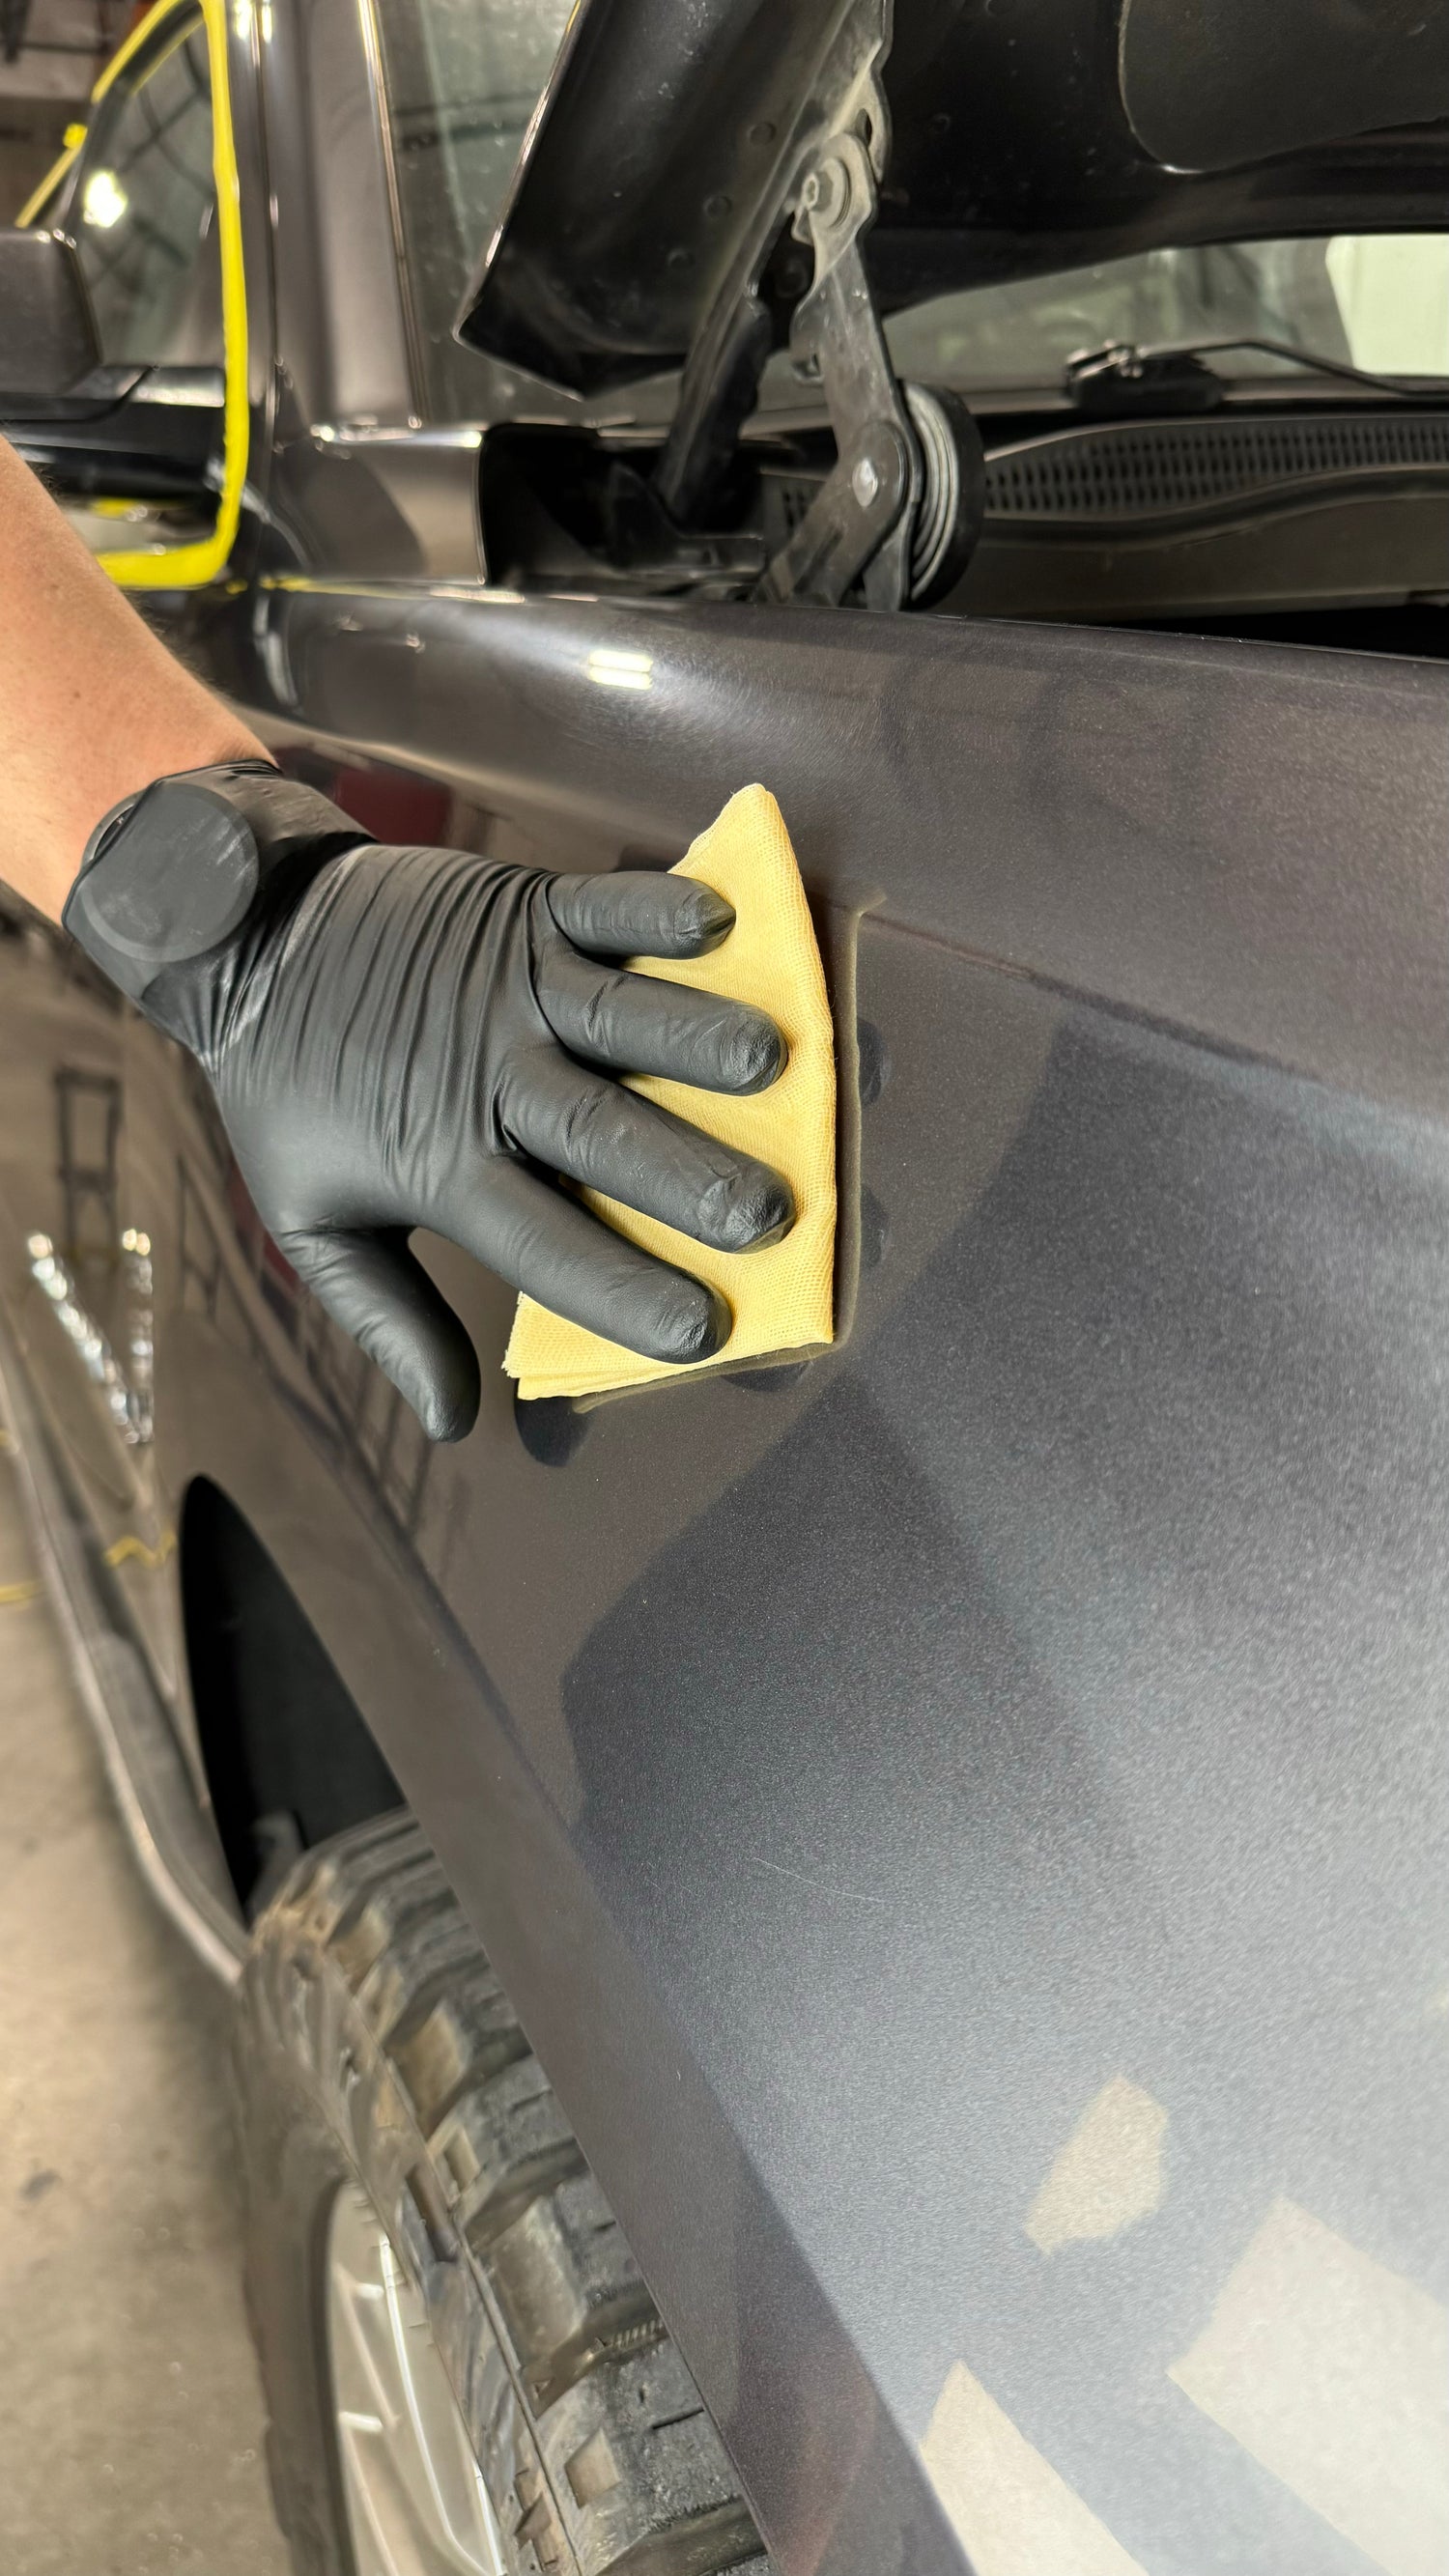
Tack Cloth
Using the provided tack cloth, remove all final surface dust. Lightly go over the entire vehicle. You will apply ReGloss on a panel-by-panel basis. Each panel is done from start to finish before moving on to the next panel.
The tack cloth is to be used just prior to starting the panel you will apply. You do not tack cloth the enture vehicle at once. Instead, you only use the tack cloth of the panel you are about to apply and then set it on a clean surface until you are ready to start the next panel.
Step 5
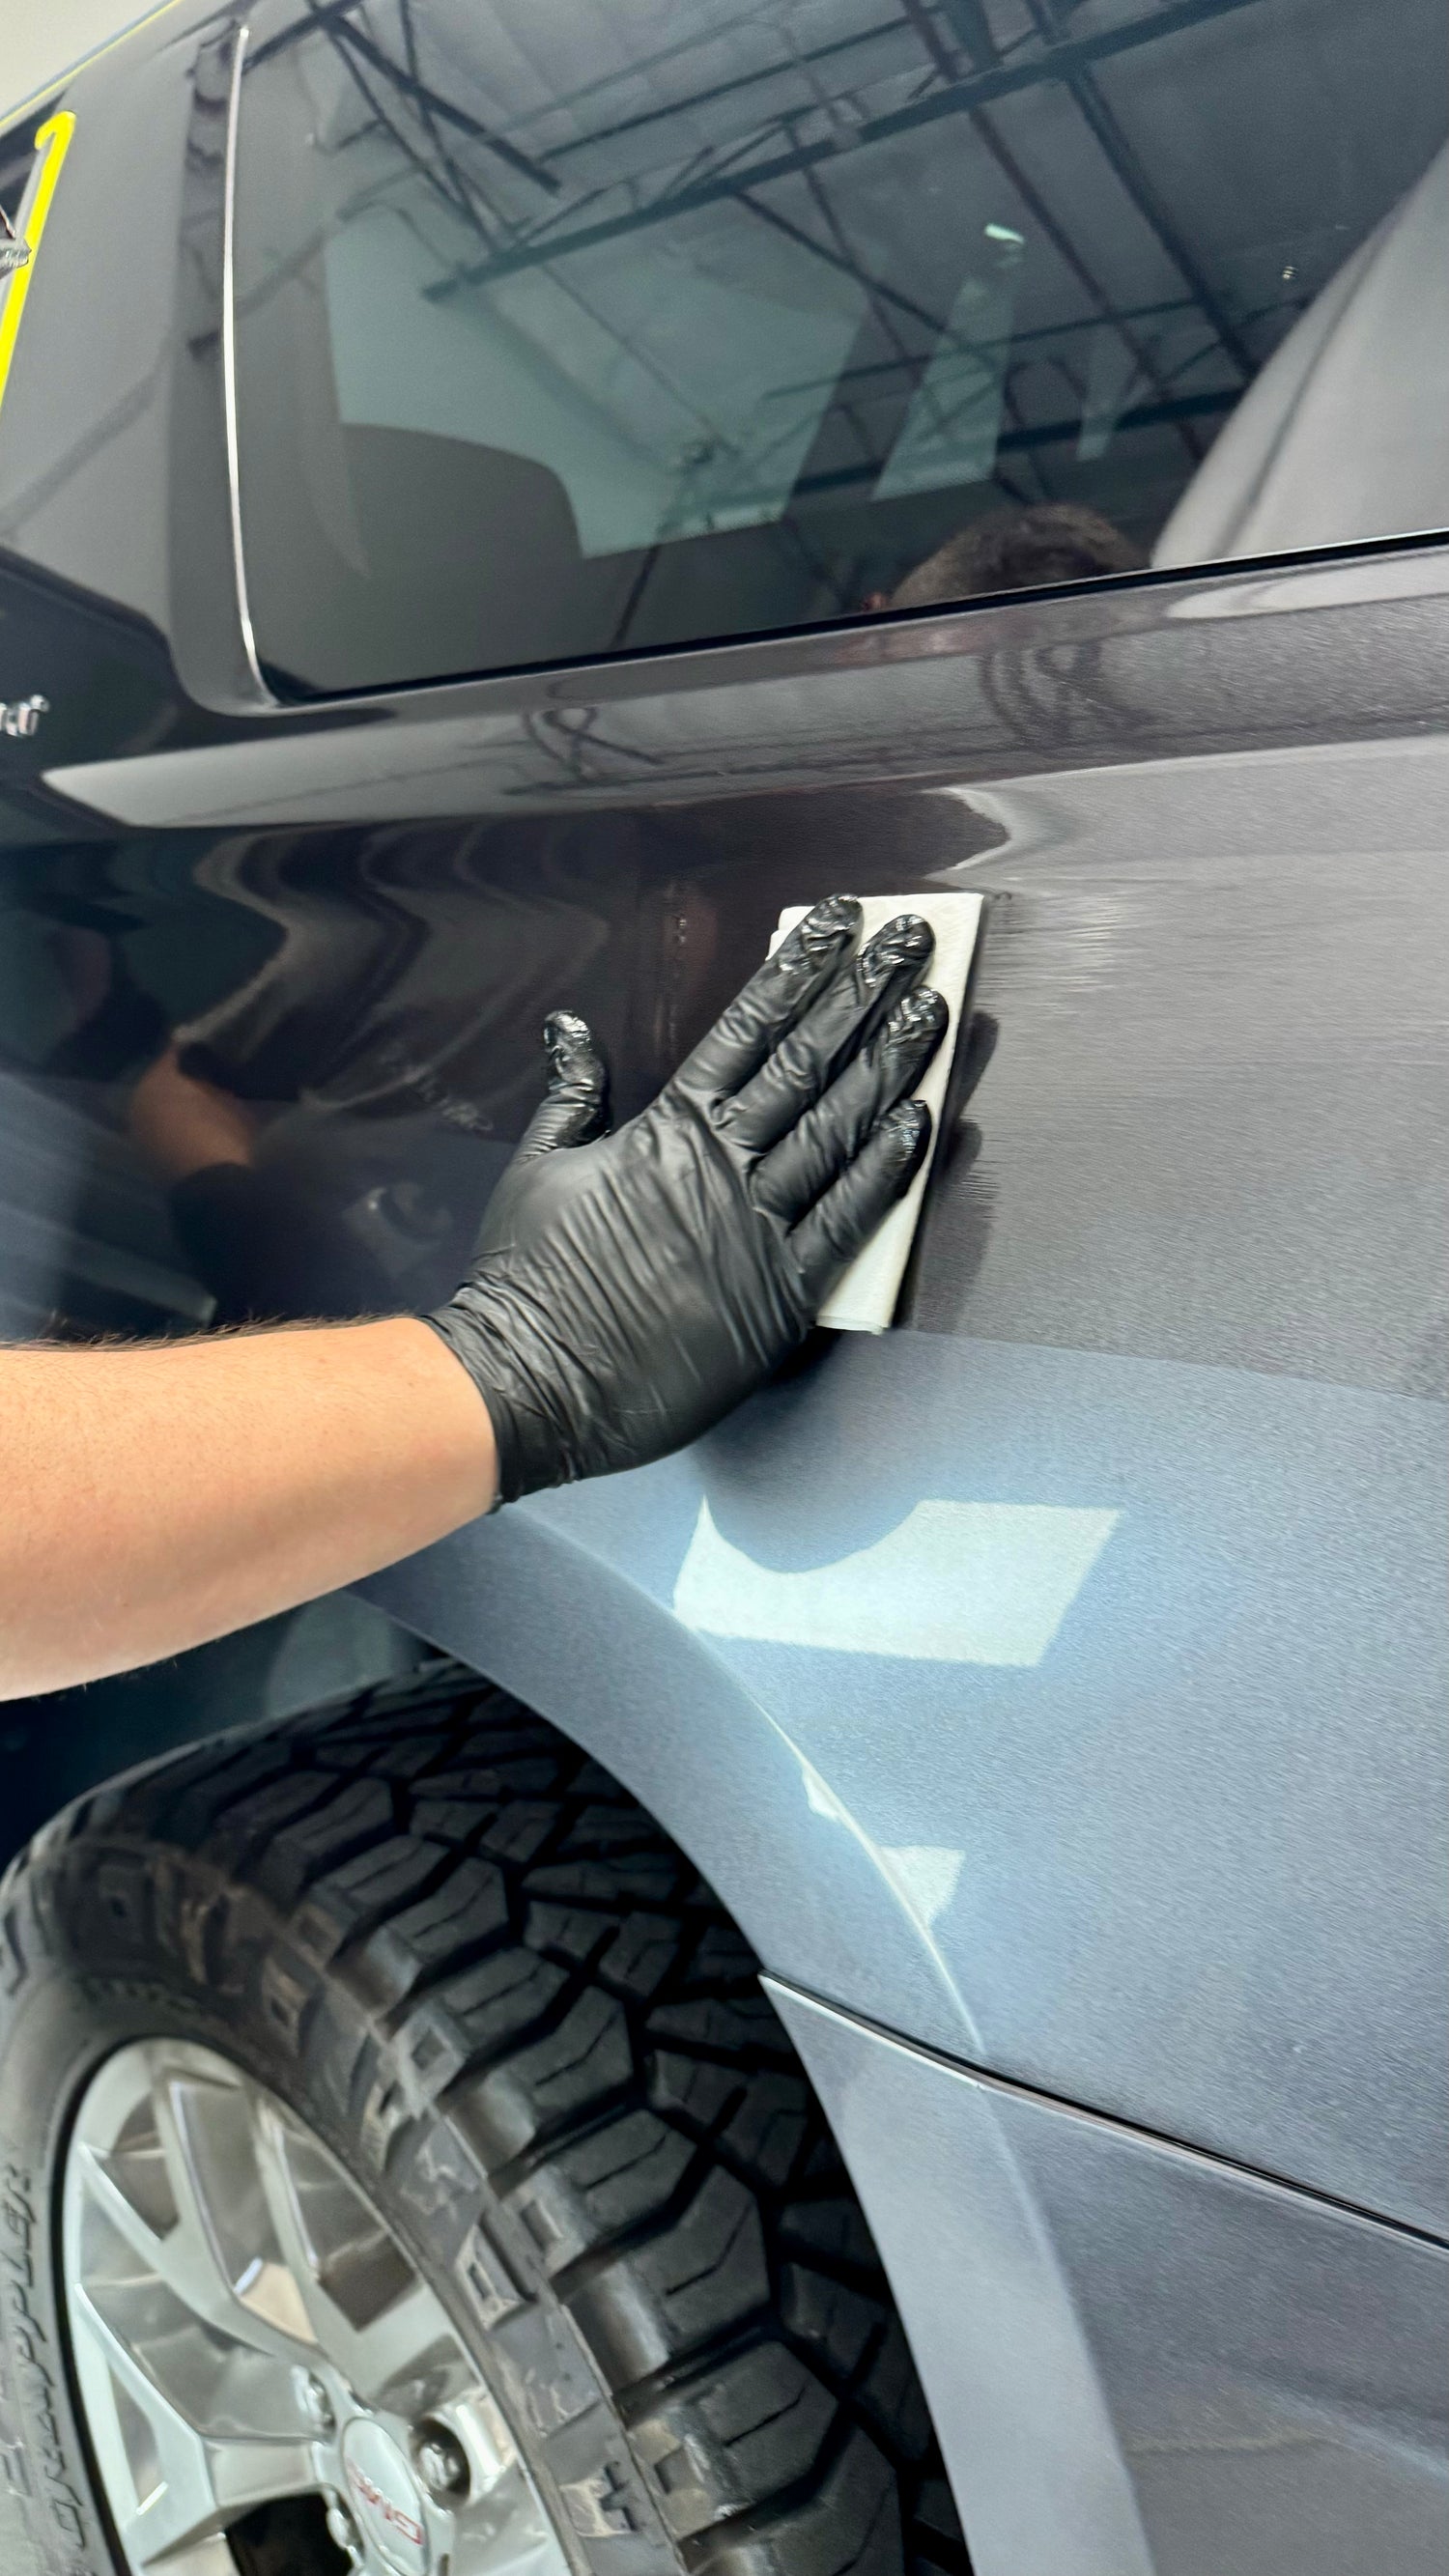
Application
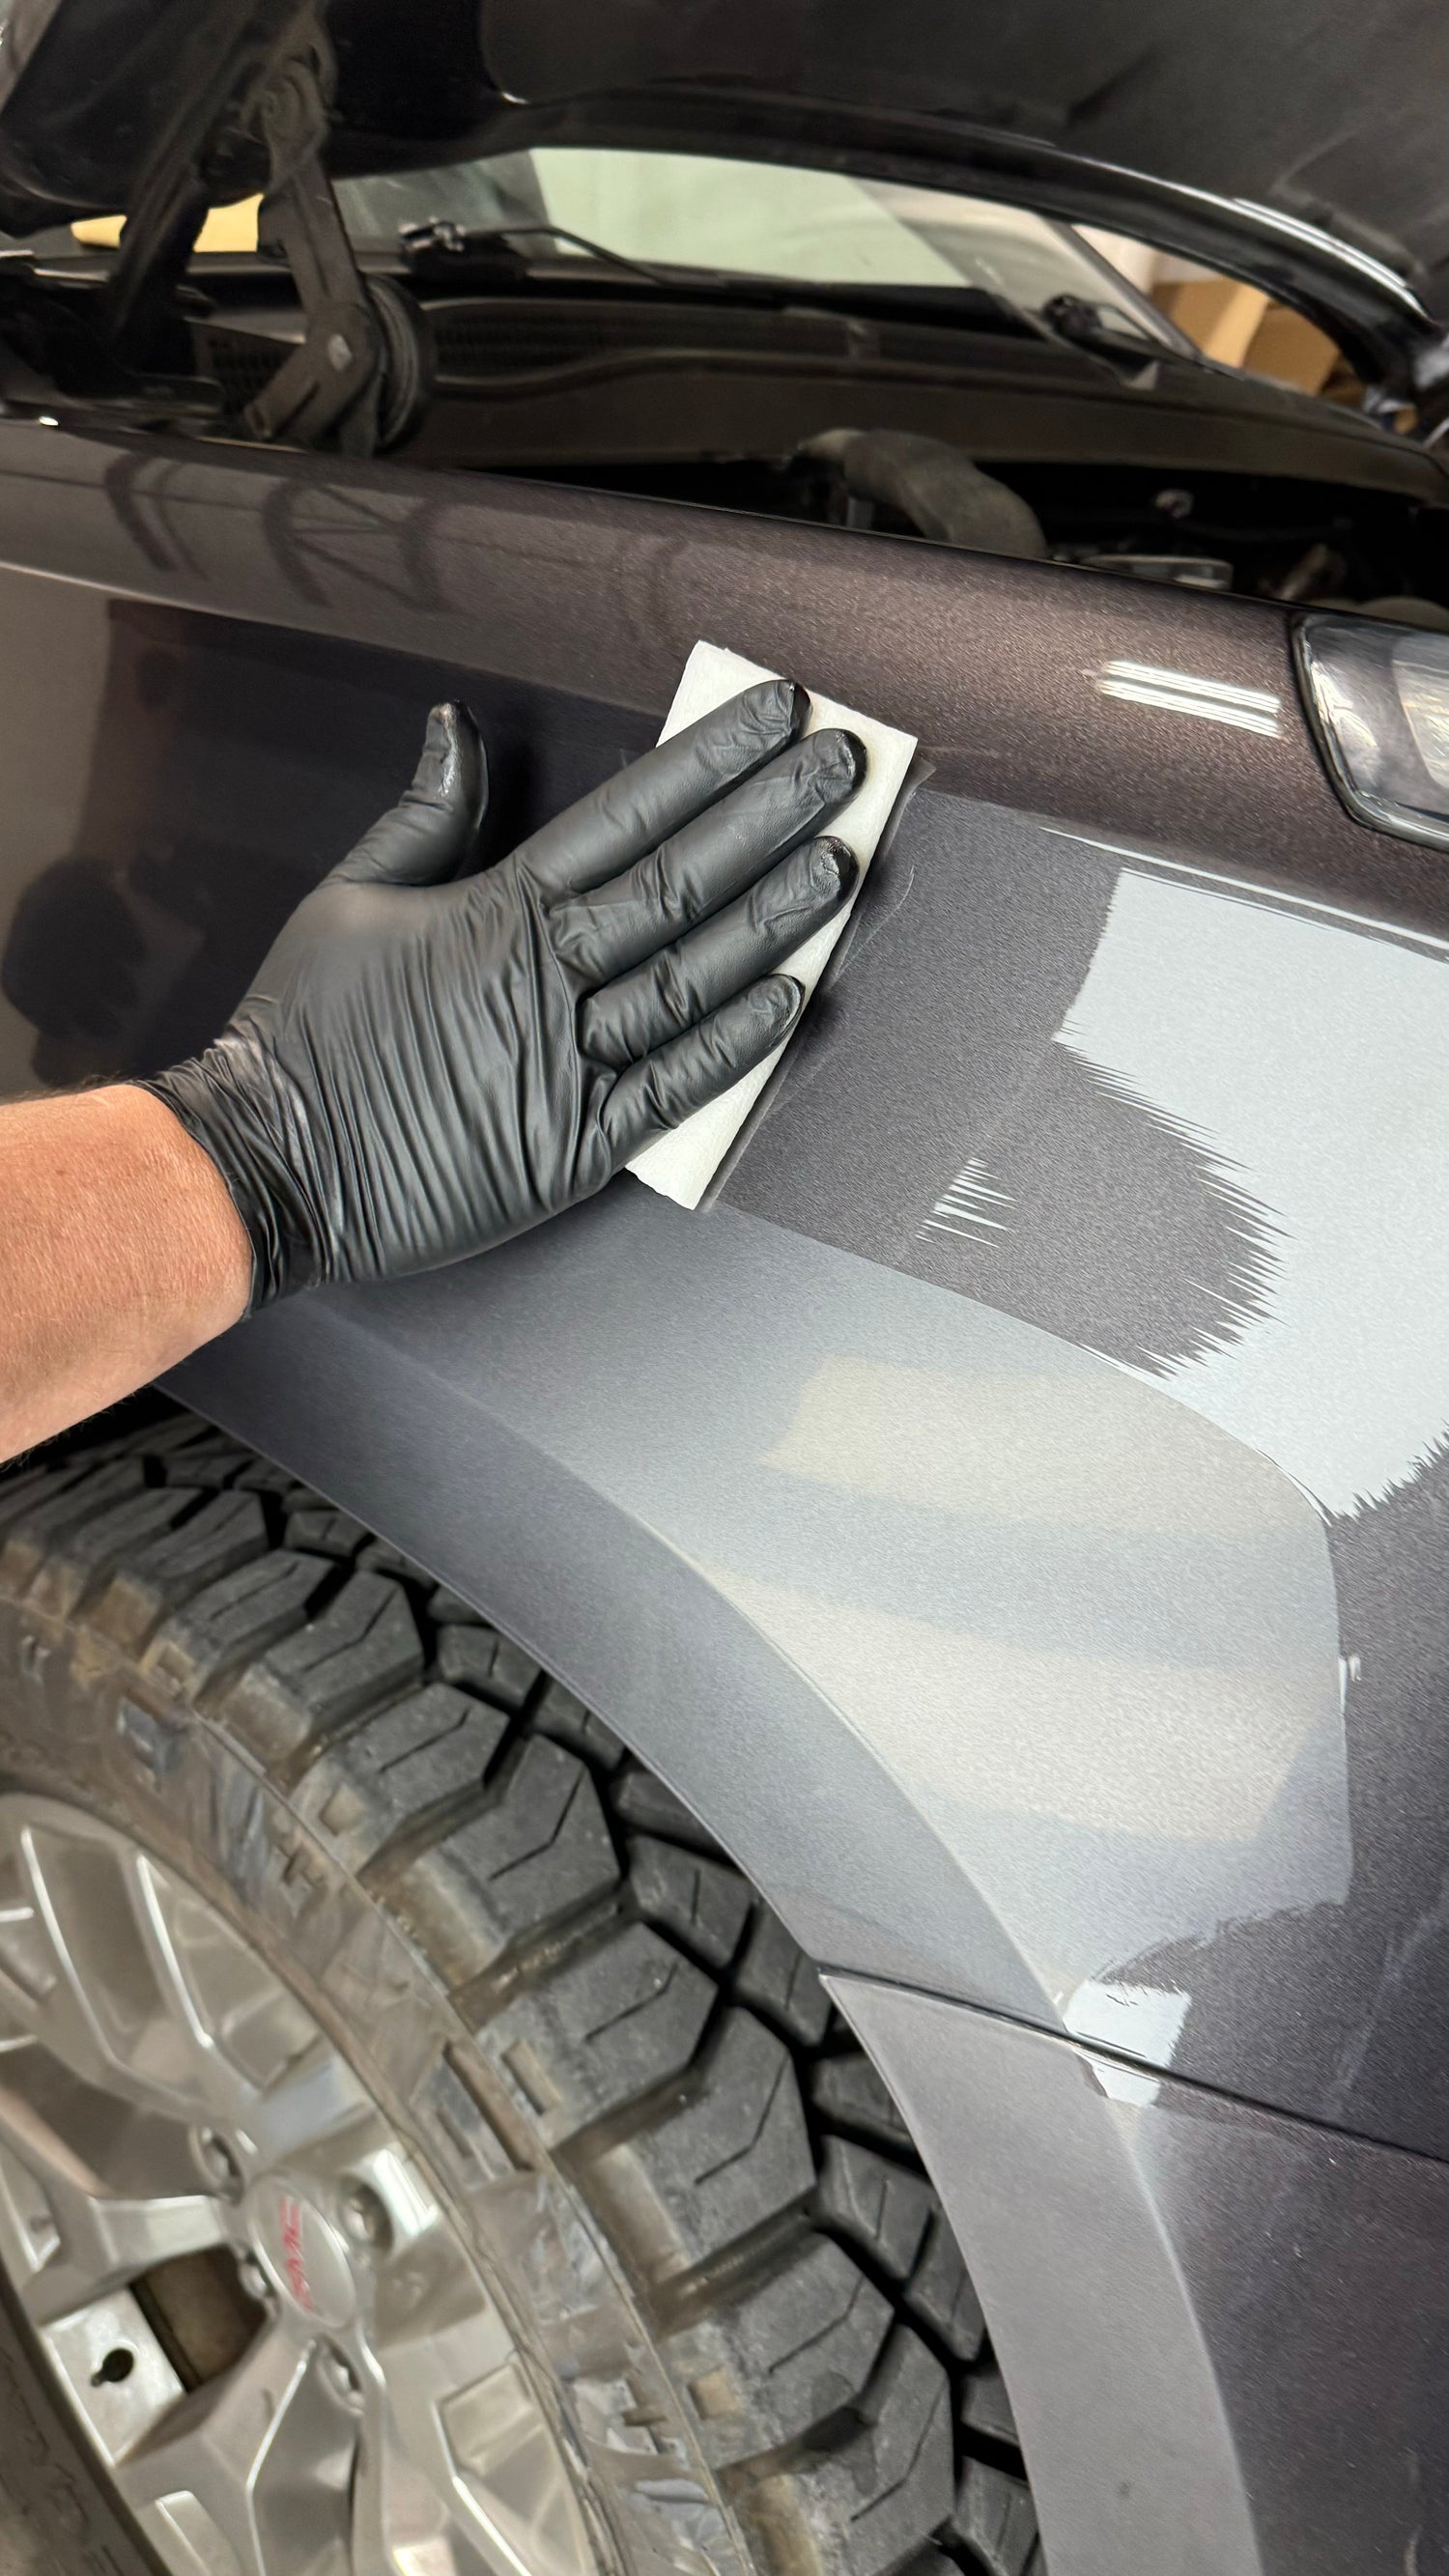
Using the per loaded applicator start applying the hood, roof, trunk first. Then around the car clockwise for right-handed encounter, clockwise for left-handed. Always doing the bumpers and rocker panels last.
During application it is very important to continue to overlap the previous passage while starting from top to bottom always finish a off a lower part of the panel. During Application you will have to continue to add product depending on how big the panel is.
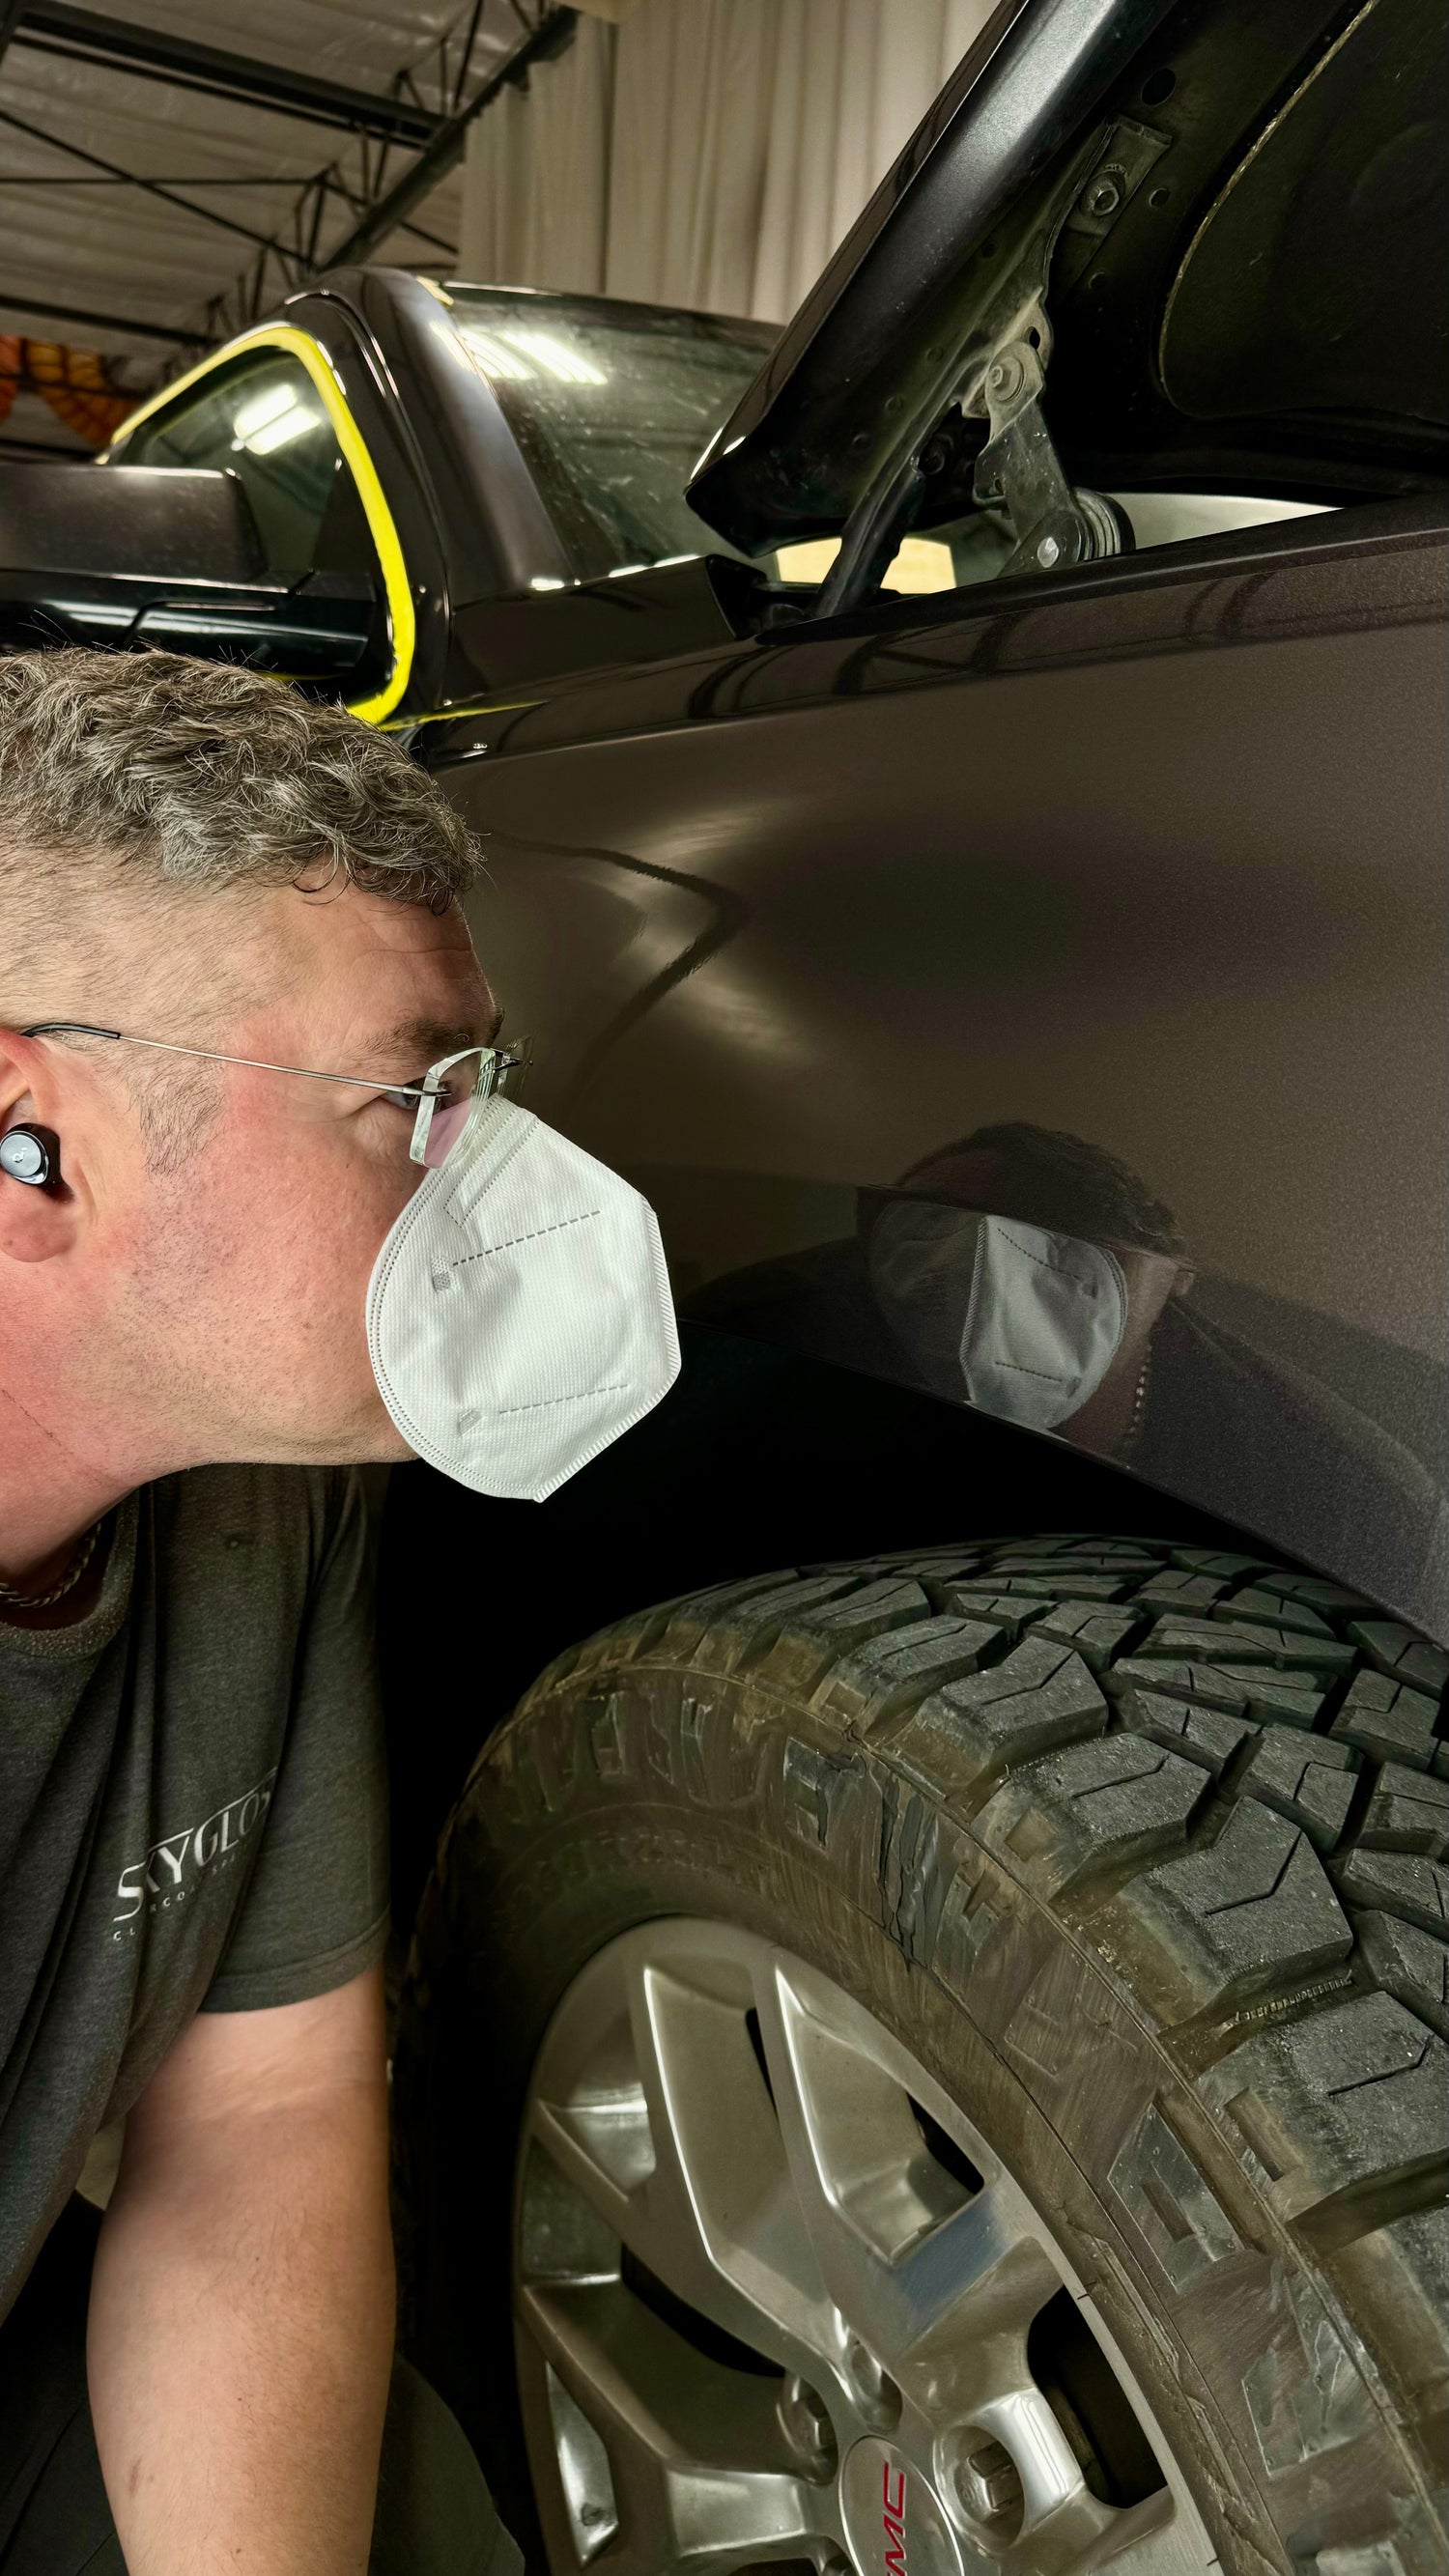
You much have good lighting to make sure you can adequately see.
Step 6
Check Your Work
After 15 minutes your application will be completely leveled out. If its not, you might have applied too thick or too thin. After applying to each panel, check the previous panels to make sure everything leveled out.
If the application of the element does not suit you after 15 minutes you can remove everything using thinner or acetone. Then wait 30 min and retry.
It is extremely important that if the product does not level out within 15 minutes you must strip it off completely. Do not leave the product on the vehicle as it will harden permanently.
